Have you ever wondered why auto body primers are an essential step in the painting process? Whether you’re a seasoned car enthusiast or a DIYer looking to repaint your vehicle, understanding the importance of auto body primers can make a significant difference in the longevity and overall appearance of your paint job. In this ultimate guide, we’ll delve into the world of auto body primers, exploring how they enhance adhesion and provide protection for your car’s surface.
What Is Auto Body Primer?
So, what exactly is auto body primer? Auto body primer is a coating applied to the metal or plastic surface of a vehicle before the paint is applied. Its primary function is to enhance paint adhesion, creating a smooth and durable surface for the topcoat to adhere to.
When you apply primer to your car’s surface, you’re essentially creating a strong bond between the paint and the metal, preventing peeling, chipping, and rust formation. Without primer, the paint would have a difficult time adhering to the surface properly, leading to a shorter lifespan for your paint job. In essence, auto body primers act as a foundation for the paint, ensuring a long-lasting and professional finish.
Benefits of Using Auto Body Primer
Primers offer a variety of benefits that make them an essential component of the painting process. Here are some of the key advantages of using auto body primers:
- Enhanced Adhesion: Primers create a strong bond between the paint and the surface, preventing peeling and chipping.
- Improved Durability: Primers protect the metal or plastic surface from rust, corrosion, and other environmental factors.
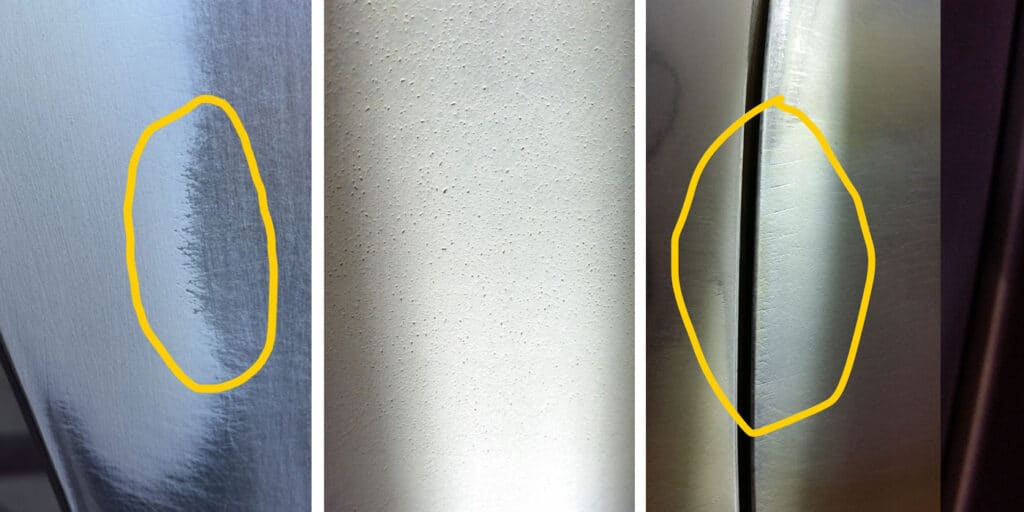
- Smooth Finish: Primers fill in small imperfections and create a smooth surface for the paint to adhere to.
- Enhanced Color Accuracy: Primers can help achieve a more accurate and vibrant color for your paint job.
By using auto body primers, you can ensure that your paint job will last longer, look better, and withstand the test of time.

Types of Auto Body Primers
Not all auto body primers are created equal. There are several types of primers available on the market, each specifically designed for different purposes. Understanding the different types of primers can help you choose the right one for your paint job.
1. Etching Primer
Etching primers are designed for use on bare metal surfaces, such as steel or aluminum. These primers contain acid that etches into the metal, creating a strong bond with the surface. Etching primers are especially useful for preventing rust formation on metal surfaces.
2. Filler Primer
Filler primers, also known as high-build primers, are designed to fill in small imperfections and provide a smooth surface for the paint to adhere to. These primers are thicker than regular primers and can help smooth out minor dents, scratches, and other imperfections on the surface.
3. Sealer Primer
Sealer primers are used to seal the surface and provide an additional layer of protection before the paint is applied. These primers help improve paint adhesion and prevent solvent penetration, ensuring a long-lasting and durable paint job.
4. Rust-Inhibiting Primer
Rust-inhibiting primers are formulated to prevent rust formation on metal surfaces. These primers contain special additives that create a protective barrier against moisture and oxidation, preventing rust from developing on the surface.
Choosing the Right Primer for Your Paint Job
When selecting a primer for your paint job, consider the type of surface you’re working with, the level of imperfections you need to correct, and the overall durability you require. Consulting with a professional or an auto body expert can help you determine the best primer for your specific needs.
How to Apply Auto Body Primer
Applying auto body primer is a crucial step in the painting process that requires careful preparation and attention to detail. Here’s a step-by-step guide on how to apply auto body primer to achieve a professional and long-lasting finish.
Step 1: Prepare the Surface
Before applying primer, make sure the surface is clean, dry, and free of any dust, dirt, or grease. Use a degreaser and sandpaper to remove any contaminants and rough up the surface for better adhesion.
Step 2: Mask Off Areas
Use masking tape and paper to mask off any areas you don’t want to be primed. This includes windows, trim, and other non-paintable surfaces.
Step 3: Mix the Primer
Follow the manufacturer’s instructions to mix the primer properly. Make sure to use the correct ratio of primer to activator to achieve the desired consistency.
Step 4: Apply the Primer
Using a spray gun or a paintbrush, apply the primer evenly in thin, overlapping coats. Avoid applying the primer too thickly, as this can lead to runs and drips. Allow each coat to dry before applying the next one.
Step 5: Sand the Primer
Once the primer has dried completely, use sandpaper to smooth out any imperfections and create a smooth surface for the paint to adhere to.
Step 6: Clean the Surface
After sanding, clean the surface with a tack cloth to remove any dust or debris that may have accumulated during the sanding process.
Step 7: Apply the Paint
Once the primer is dry and the surface is clean, you’re ready to apply the paint. Follow the same process of applying thin, even coats of paint and allowing each coat to dry before applying the next one.
By following these steps and taking your time to properly prepare and apply the primer, you can achieve a professional and long-lasting finish for your paint job.
Tips for Using Auto Body Primers
Here are some additional tips to help you get the most out of your auto body primer:
- Use the Right Equipment: Invest in high-quality spray guns, paint brushes, and sandpaper to ensure a smooth and even application of the primer.
- Work in a Well-Ventilated Area: Primers can contain harmful chemicals and fumes, so it’s essential to work in a well-ventilated area or wear a respirator to protect yourself.
- Follow Manufacturer’s Instructions: Always read and follow the manufacturer’s instructions for mixing and applying the primer to achieve the best results.
- Practice Patience: Allow each coat of primer to dry completely before applying the next one. Rushing the process can lead to uneven coverage and imperfections in the finish.
By following these tips and best practices, you can achieve professional results and ensure a long-lasting and durable paint job for your vehicle.

Auto body primers play a crucial role in enhancing adhesion and providing protection for your vehicle’s paint job. By understanding the different types of primers available, how to apply them correctly, and following best practices, you can achieve a professional and long-lasting finish for your car.
Whether you’re a DIYer looking to repaint your vehicle or a seasoned car enthusiast, using auto body primers can make a significant difference in the overall quality of your paint job. So, next time you’re prepping for a paint project, remember to prime it right for a flawless and durable finish.
If you have any questions or need further assistance with choosing the right auto body primer for your paint job, feel free to reach out to a professional or an auto body expert for guidance. Happy painting!