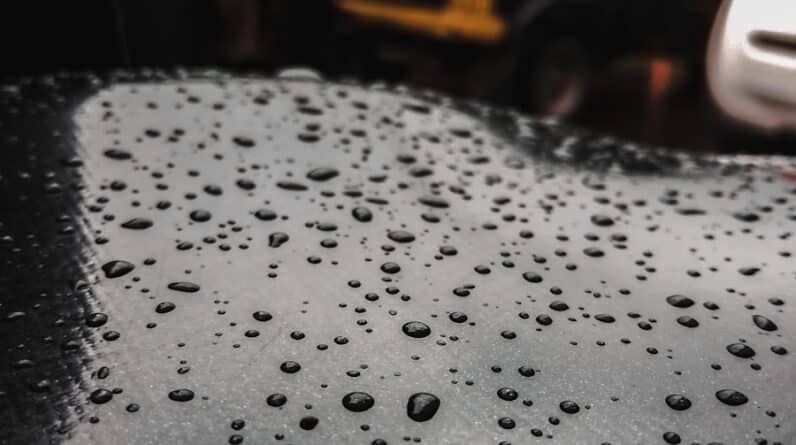
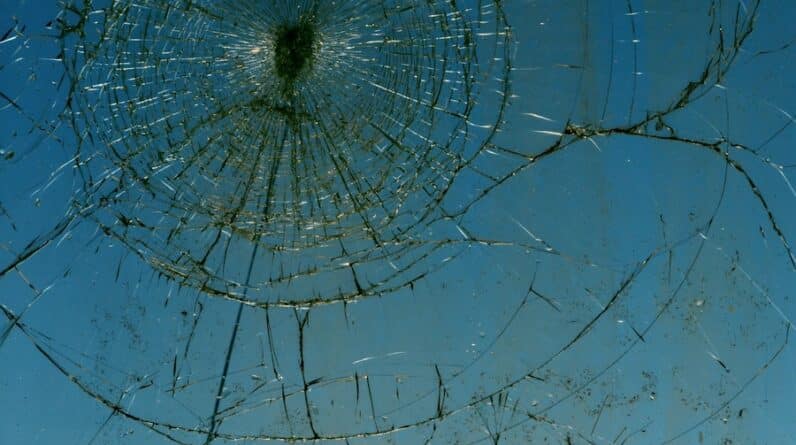
When it comes to maintaining the aesthetic appeal of your vehicle, paint correction is a crucial process that you should familiarize yourself with. Essentially, paint correction refers to the meticulous procedure of removing imperfections from a vehicle’s paint surface. These imperfections can include swirl marks, scratches, oxidation, and other blemishes that detract from the overall appearance of your car.
By understanding the fundamentals of paint correction, you can appreciate the transformative effect it has on your vehicle’s finish. You might be surprised to learn that paint correction is not merely about making your car look good; it also serves a functional purpose. A well-corrected paint surface can protect against environmental factors such as UV rays, dirt, and contaminants that can lead to further deterioration.
By investing time and effort into paint correction, you are not only enhancing the visual appeal of your vehicle but also extending its lifespan and preserving its value. This understanding sets the stage for you to delve deeper into the tools, techniques, and processes involved in achieving a flawless finish.
- Paint correction is the process of removing imperfections from the surface of a vehicle’s paint, such as swirl marks, scratches, and oxidation.
- Tools and materials needed for paint correction include a dual action polisher, various polishing pads, compound and polish, microfiber towels, and paint thickness gauge.
- Preparing the vehicle for paint correction involves washing and decontaminating the surface, as well as taping off sensitive areas to avoid damage.
- Techniques for paint correction include using the appropriate combination of compound and polish, working in small sections, and using the correct pressure and speed with the polisher.
- Dealing with swirl marks and scratches requires identifying the depth of the imperfections and using the appropriate abrasive compound and polishing pad to remove them.
Tools and Materials Needed for Paint Correction
Before embarking on your paint correction journey, it’s essential to gather the right tools and materials. The first item on your list should be a dual-action polisher or a rotary polisher. These machines are designed to effectively remove imperfections while minimizing the risk of damaging the paint.
A dual-action polisher is often recommended for beginners due to its user-friendly nature, while a rotary polisher offers more power for experienced users. In addition to the polisher, you will need various grades of polishing pads and compounds. The pads come in different levels of abrasiveness, allowing you to choose the right one based on the severity of the imperfections you are addressing.
For instance, a heavier cutting pad may be necessary for deep scratches, while a softer finishing pad is ideal for achieving a high-gloss shine. Don’t forget to stock up on microfiber towels for wiping off residue and inspecting your work as you go along. Having these tools at your disposal will set you up for success in your paint correction endeavors.
Preparing the Vehicle for Paint Correction

Preparation is key when it comes to paint correction. Before you even think about polishing, you need to ensure that your vehicle is clean and free from contaminants. Start by washing your car thoroughly with a pH-balanced car shampoo to remove dirt and grime.
Pay special attention to areas where dirt tends to accumulate, such as wheel wells and undercarriages. After washing, it’s advisable to use a clay bar treatment to eliminate embedded contaminants that regular washing cannot remove. Once your vehicle is clean, it’s time to inspect the paint surface closely.
This step is crucial because it allows you to identify specific areas that require attention. Use a bright LED light or a paint inspection light to highlight imperfections such as scratches or swirl marks. Document these areas so you can focus on them during the correction process.
Proper preparation not only ensures that you achieve the best results but also helps you avoid potential pitfalls that could arise from overlooking critical steps.
Techniques for Paint Correction
With your vehicle prepared and your tools ready, you can now dive into the actual paint correction techniques. One of the most effective methods is known as the two-step process, which involves compounding followed by polishing. Start with a cutting compound and an appropriate pad to tackle deeper imperfections.
Apply the compound in small sections, using overlapping passes to ensure even coverage. It’s important to keep the polisher moving at all times to prevent burning through the clear coat. After compounding, switch to a finer polish and a softer pad to refine the surface further.
This step enhances clarity and adds depth to the paint finish. As you work through this process, take breaks to inspect your progress under different lighting conditions. This will help you gauge whether additional passes are necessary or if you’ve achieved the desired level of correction.
Mastering these techniques will not only improve your skills but also elevate the overall appearance of your vehicle.
Dealing with Swirl Marks and Scratches
Swirl marks and scratches are common issues that many vehicle owners face, but they can be effectively addressed through careful attention during the paint correction process. Swirl marks often result from improper washing techniques or using abrasive materials, so it’s essential to approach their removal with precision. Start by identifying the severity of the swirl marks; lighter swirls may require only polishing, while deeper ones might necessitate compounding.
When tackling these imperfections, use a combination of techniques tailored to their severity. For light swirl marks, a fine polish with a soft pad can work wonders in restoring clarity without removing too much clear coat. For deeper scratches, however, you may need to employ a more aggressive approach with a cutting compound and a firmer pad.
Always remember to work in small sections and keep an eye on your progress; this will help ensure that you don’t over-correct or damage the paint further.
Polishing and Finishing the Paint
Once you’ve addressed swirl marks and scratches, it’s time to focus on polishing and finishing your vehicle’s paintwork. Polishing is where you can truly bring out the depth and shine of your car’s finish. After using a cutting compound, switch to a finishing polish that will refine the surface even further.
This step is crucial for achieving that showroom-quality look that many car enthusiasts strive for. As you polish, consider using different techniques such as cross-hatching or circular motions to ensure even coverage across the surface. Pay attention to areas that may require extra care, such as curves or edges where imperfections tend to linger.
After polishing, it’s advisable to wipe down the surface with a clean microfiber towel to remove any residue left behind by the polish. This final touch will leave your vehicle looking pristine and ready for protection.
Maintaining the Corrected Paint
After investing time and effort into correcting your vehicle’s paint, maintaining that flawless finish is essential for long-term satisfaction. One of the best ways to protect your newly corrected paint is by applying a high-quality wax or sealant. These products create a barrier against environmental contaminants while enhancing shine and depth.
Regularly waxing your vehicle will not only keep it looking great but also help prevent future damage from UV rays and pollutants. In addition to regular waxing, consider implementing proper washing techniques moving forward. Use a pH-balanced car shampoo and microfiber wash mitts to minimize the risk of introducing new swirl marks or scratches during cleaning.
It’s also wise to invest in detailing sprays or quick detailers for touch-ups between washes. By adopting these maintenance practices, you can ensure that your vehicle retains its stunning appearance for years to come.
Benefits of Professional Paint Correction
While DIY paint correction can be rewarding, there are undeniable benefits to seeking professional assistance for this intricate process. Professionals possess extensive experience and knowledge about various paint types and correction techniques, allowing them to achieve results that may be difficult for an amateur to replicate. They also have access to advanced tools and products that can enhance efficiency and effectiveness during the correction process.
Moreover, professional paint correction services often include additional treatments such as ceramic coatings or sealants that provide long-lasting protection against environmental elements. These coatings can significantly reduce maintenance efforts while keeping your vehicle looking its best for an extended period. Ultimately, investing in professional paint correction not only saves you time but also ensures that your vehicle receives the highest level of care possible, allowing you to enjoy its beauty without worry.
In conclusion, understanding paint correction is essential for any vehicle owner who values aesthetics and longevity in their car’s appearance. By gathering the right tools, preparing adequately, mastering techniques, and considering professional services when necessary, you can achieve stunning results that enhance both the look and value of your vehicle. Whether you choose to tackle this process yourself or enlist professional help, taking steps toward paint correction will undoubtedly pay off in the long run.
If you are interested in learning more about finding a reputable auto body repair facility, check out this article on Body Shop Confidential: Insider Tips for Finding a Reputable Repair Facility. This article provides valuable insights and advice on how to choose the right body shop for your automotive repair needs. It complements the Automotive Paint Correction Guide by offering guidance on where to take your vehicle for professional paint correction services.
FAQs
What is automotive paint correction?
Automotive paint correction is the process of removing imperfections from the surface of a vehicle’s paint, such as swirl marks, scratches, and oxidation, to restore a smooth and glossy finish.
What are the common imperfections that can be corrected with automotive paint correction?
Common imperfections that can be corrected with automotive paint correction include swirl marks, scratches, water spots, oxidation, and other forms of paint damage.
What are the steps involved in automotive paint correction?
The steps involved in automotive paint correction typically include washing and decontaminating the vehicle’s surface, followed by the use of abrasive compounds and polishes to remove imperfections, and finally, the application of a protective coating or wax.
What tools and products are used in automotive paint correction?
Tools and products used in automotive paint correction may include dual action polishers, rotary polishers, abrasive compounds, polishing pads, microfiber towels, and paint protection products such as ceramic coatings or carnauba wax.
Can automotive paint correction be done at home?
Automotive paint correction can be done at home, but it requires the proper tools, products, and techniques. It is important to carefully follow instructions and take necessary precautions to avoid causing further damage to the vehicle’s paint.
How often should automotive paint correction be done?
The frequency of automotive paint correction depends on factors such as the condition of the vehicle’s paint, how it is maintained, and the driving environment. In general, it is recommended to perform paint correction as needed to maintain the appearance and protection of the paint.