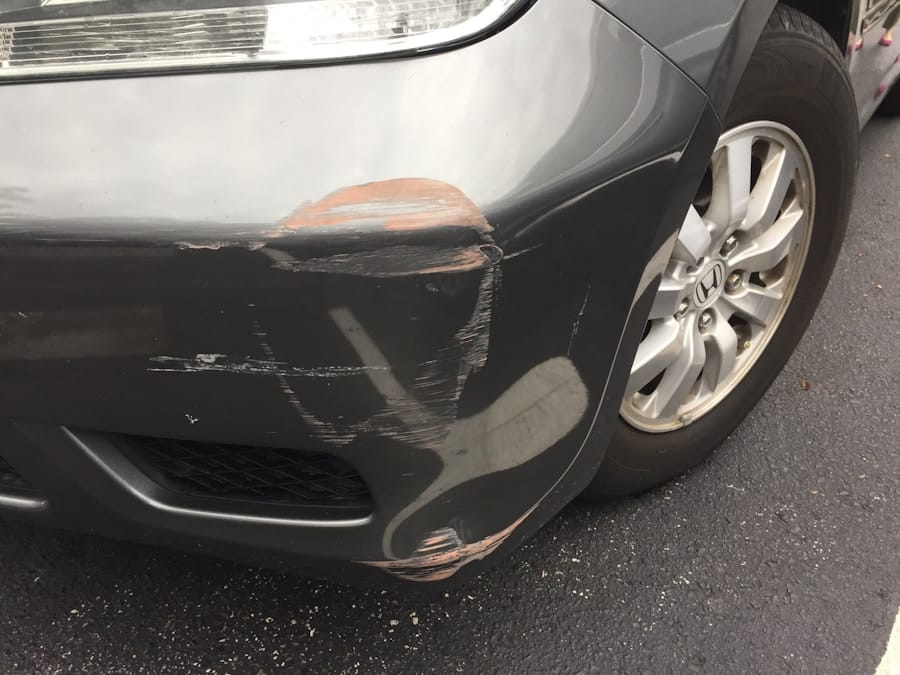
When you first notice a dent on your vehicle, the initial step is to assess the damage thoroughly. You want to take a moment to examine the area closely, as this will help you determine the best course of action for repair. Look for any signs of paint damage, creases, or sharp edges that may indicate a more severe issue beneath the surface.
Understanding the extent of the dent is crucial; a minor ding may require a different approach than a deep crease that has compromised the metal. As you assess the damage, consider the location of the dent as well. Dents on flat surfaces are generally easier to repair than those located on curved or contoured areas.
Additionally, if the dent is near a seam or edge, it may complicate the repair process. Take your time during this assessment phase; documenting the damage with photographs can also be beneficial, especially if you plan to file an insurance claim or consult with a professional later on.
- Assessing the damage is the first step in repairing a dent on a car, as it helps determine the best approach for fixing it.
- Removing the trim and accessories around the dent is necessary to access the damaged area and ensure a smooth repair process.
- Using a dent puller can be an effective method for pulling out smaller dents, providing a quick and easy solution.
- Using a slide hammer is a more powerful tool for pulling out larger dents, providing a stronger force to reshape the metal.
- Using heat and cold techniques can help manipulate the metal and make it more pliable for repairing dents.
Removing the Trim and Accessories
Once you have assessed the damage, the next step involves removing any trim or accessories that may obstruct your access to the dent. This could include door panels, moldings, or even light fixtures, depending on where the dent is located. Carefully detach these components to avoid causing further damage.
Use appropriate tools such as screwdrivers or trim removal tools to ensure that you don’t scratch or break anything in the process. As you remove these parts, keep track of all screws and clips, as losing even one can complicate reassembly later. It’s often helpful to place them in a labeled container or bag to ensure everything is organized.
If you encounter any resistance while removing trim pieces, double-check for hidden screws or clips that may not be immediately visible. Taking this extra time will save you frustration down the line and allow for a smoother repair process.
Using a Dent Puller
With the trim and accessories out of the way, you can now focus on using a dent puller to address the damage. A dent puller is a specialized tool designed to create suction and pull the dent back into its original shape. There are various types of dent pullers available, including glue pullers and slide hammer pullers.
Depending on your comfort level and the severity of the dent, you can choose the one that best suits your needs. To use a glue puller, start by cleaning the area around the dent thoroughly. Apply a special adhesive to a pulling tab and press it firmly against the center of the dent.
Allow it to set according to the manufacturer’s instructions before using the puller to gently pull on the tab. If you’re using a slide hammer puller, attach it directly to the dent and use controlled force to pull it out gradually. Be patient during this process; rushing can lead to further damage or an uneven surface.
Using a Slide Hammer
If your initial attempts with a dent puller haven’t yielded satisfactory results, consider employing a slide hammer for more stubborn dents. This tool provides greater leverage and allows for more controlled pulling force, making it ideal for deeper or more complex dents. To use a slide hammer effectively, first ensure that you have a solid attachment point on the dented area.
Begin by attaching the slide hammer’s hook or tab to the dent, ensuring it is secure. Once attached, grip the slide hammer firmly and pull it back sharply before allowing it to return forward. This action creates a strong pulling force that can help pop out the dent.
Repeat this process as necessary, checking your progress frequently to avoid over-pulling and creating additional issues. The key here is to maintain a steady rhythm and be mindful of how much pressure you’re applying.
Using Heat and Cold
In some cases, using heat and cold can be an effective method for repairing dents without specialized tools. This technique relies on the principle that metal expands when heated and contracts when cooled. To begin, you’ll need a heat source such as a hairdryer or heat gun.
Carefully apply heat to the dented area for about 30 seconds, ensuring that you don’t overheat any surrounding paint. After heating, quickly apply ice or a cold pack directly to the area. The rapid temperature change can cause the metal to contract and may pop the dent out on its own.
This method can be particularly effective for shallow dents but may require several attempts for deeper ones. Always exercise caution when using heat sources; too much heat can damage your vehicle’s paint or finish.
Using a Body Filler
If your attempts at pulling out the dent have not been successful or if there are imperfections remaining after using other methods, applying body filler may be your next best option. Body filler is a compound that can fill in dents and create a smooth surface for painting. Start by cleaning the area thoroughly and sanding it lightly to ensure proper adhesion of the filler.
Mix the body filler according to the manufacturer’s instructions and apply it generously over the damaged area using a putty knife. Make sure to feather out the edges so that it blends seamlessly with the surrounding surface. Once applied, allow it to cure completely before sanding it down to achieve a smooth finish.
This step is crucial; taking your time with sanding will ensure that you have an even surface ready for painting.
Using a Welding Technique
For more severe dents or structural damage, welding techniques may be necessary to restore your vehicle’s integrity. This method is typically reserved for those who have experience with welding equipment, as it requires precision and skill. If you’re not comfortable with welding, it’s advisable to consult with a professional who can handle this aspect of repair.
To begin welding, you’ll need to access both sides of the damaged area if possible. Clean any rust or debris from around the dent before applying heat with your welder. Carefully manipulate the metal back into place while welding small spots to hold it securely.
This technique not only repairs dents but also reinforces weakened areas of metal, ensuring that your vehicle remains structurally sound.
Finishing and Painting the Repaired Area
After successfully repairing the dent, it’s time to focus on finishing touches and painting the repaired area. Start by sanding down any rough edges left from body filler or welding until they are smooth and flush with the surrounding surface. Once satisfied with your sanding job, clean off any dust or debris before proceeding to paint.
Choose a paint that matches your vehicle’s color code for seamless blending. Apply primer first if necessary, followed by several thin coats of paint, allowing each layer to dry completely before adding another. Finally, finish with a clear coat to protect your work and give it a glossy finish that matches your vehicle’s original look.
Take your time during this final stage; proper painting techniques will ensure that your repair is not only functional but also visually appealing. In conclusion, repairing dents in your vehicle requires careful assessment and execution of various techniques tailored to your specific situation. By following these steps methodically—from assessing damage to finishing touches—you can restore your vehicle’s appearance and maintain its value over time.
Whether you choose to tackle this project yourself or seek professional help, understanding these processes will empower you in making informed decisions about your vehicle’s care.
If you are looking for the best auto body repair services in Elk Grove, California, you may want to check out this article. It provides valuable information on finding top-notch professionals to help with any damaged body panels on your automobile. Whether you need dent repair, paint touch-ups, or full panel replacements, this article can guide you in the right direction.
FAQs
What are the common techniques for removing damaged body panels from an automobile?
Common techniques for removing damaged body panels from an automobile include using a dent puller, hammer and dolly, heat gun, and body filler.
What is a dent puller and how is it used to remove damaged body panels?
A dent puller is a tool that uses suction or adhesive to pull out dents from body panels. It is typically used by attaching the puller to the dent and then pulling it out to restore the panel to its original shape.
How is a hammer and dolly used to remove damaged body panels?
A hammer and dolly are used to reshape metal body panels by using the dolly as a backing surface and the hammer to tap out dents and creases from the opposite side of the panel.
What is a heat gun and how is it used in removing damaged body panels?
A heat gun is used to soften the metal of a body panel, making it more malleable and easier to reshape. It is typically used in combination with a hammer and dolly to remove dents and creases.
How is body filler used to repair damaged body panels?
Body filler is a material used to fill in and smooth out dents and imperfections in body panels. It is applied to the damaged area, allowed to harden, and then sanded down to create a smooth surface.