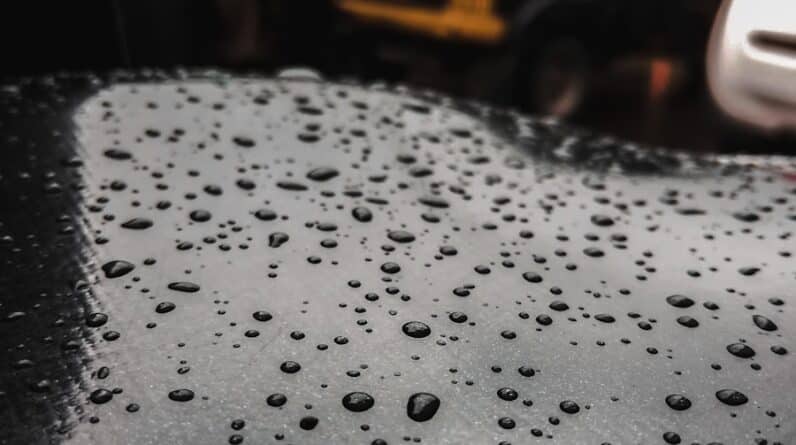
When you think about auto body repair, it’s essential to grasp the fundamental concepts that underpin the process. At its core, auto body repair involves restoring a vehicle’s exterior to its original condition after it has suffered damage. This damage can range from minor scratches and dents to more severe issues like rust or collision-related impacts.
Understanding the basics means recognizing the different types of materials used in vehicle construction, such as steel, aluminum, and plastic, as well as the various techniques employed to repair them. You should also familiarize yourself with the terminology associated with auto body repair. Terms like “panel beating,” “body filler,” and “paint blending” are common in this field.
Knowing what these terms mean will help you communicate effectively if you decide to consult with professionals or seek advice from fellow DIY enthusiasts. Additionally, understanding the structure of your vehicle can aid in identifying which parts need attention and how best to approach the repair process.
- Understanding the basics of auto body repair is essential for DIY enthusiasts to effectively tackle common issues such as dents, scratches, and rust.
- The tools and materials needed for DIY auto body repair include sandpaper, body filler, primer, paint, and clear coat, as well as a variety of specialized tools like dent pullers and sanding blocks.
- Assessing the damage and planning the repair process involves carefully inspecting the affected area, determining the best approach for repair, and gathering the necessary materials and tools.
- A step-by-step guide to repairing dents and scratches includes steps such as sanding the area, applying body filler, sanding again, priming, painting, and finishing with clear coat for a seamless repair.
- Addressing rust and corrosion issues requires removing the affected area, treating the rust, applying rust-inhibiting primer, and properly sealing and painting the repaired area to prevent future corrosion.
- Painting and finishing techniques for a professional look involve proper surface preparation, applying even coats of paint, and using techniques such as blending and feathering to seamlessly integrate the new paint with the existing finish.
- Safety precautions and tips for DIY auto body repair include wearing protective gear, working in a well-ventilated area, and following proper techniques to avoid injury and achieve professional results.
- Knowing when to seek professional help is important for complex repairs, extensive damage, or when the necessary tools and expertise are beyond the scope of a DIY enthusiast.
Tools and Materials Needed for DIY Auto Body Repair
Equipping yourself with the right tools and materials is crucial for successful DIY auto body repair. A well-stocked toolbox will not only make your job easier but also ensure that you achieve a high-quality finish. Essential tools include a variety of wrenches, screwdrivers, pliers, and hammers specifically designed for auto body work.
A dent puller is invaluable for removing minor dents, while a sander will help smooth out surfaces before painting. In addition to tools, you’ll need materials such as body filler, primer, and paint. Body filler is used to fill in dents and imperfections, while primer prepares the surface for painting by ensuring better adhesion.
When selecting paint, consider both the color and type; automotive paint comes in various finishes, including matte, gloss, and metallic. Having these tools and materials on hand will set you up for success as you embark on your auto body repair journey.
Assessing the Damage and Planning the Repair Process
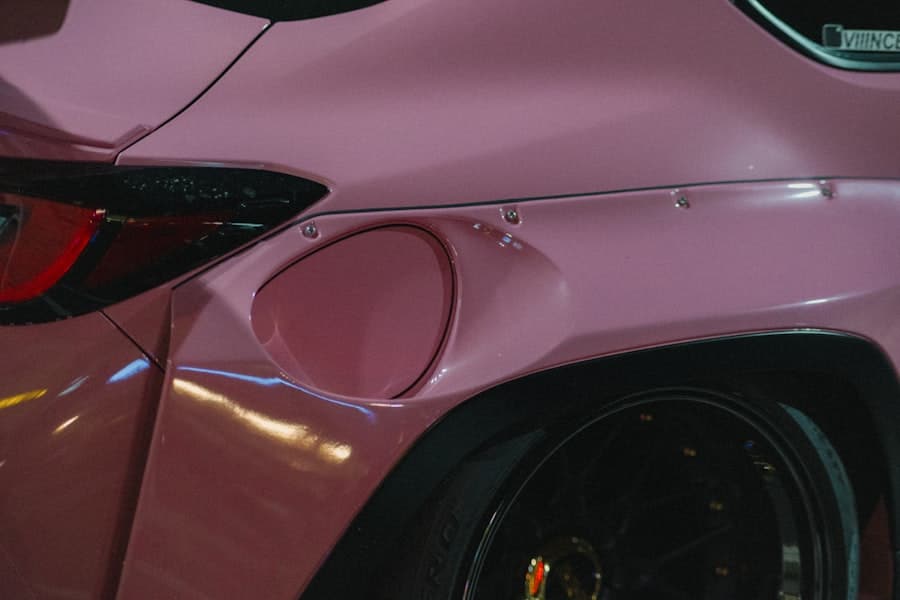
Before diving into repairs, it’s vital to assess the damage thoroughly. Take a step back and examine your vehicle from different angles to identify all areas that require attention. Look for not only visible dents and scratches but also any underlying issues that may not be immediately apparent.
For instance, a seemingly minor scratch could indicate deeper damage if it has penetrated through the paint layer to the metal beneath. Once you’ve assessed the damage, it’s time to plan your repair process. Create a checklist of tasks that need to be completed, prioritizing them based on severity and complexity.
This plan will serve as your roadmap, guiding you through each step of the repair process. Consider factors such as drying times for paint and filler, as well as any additional materials you may need as you progress. A well-thought-out plan will help you stay organized and focused throughout the project.
Step-by-Step Guide to Repairing Dents and Scratches
Repairing dents and scratches can seem daunting at first, but breaking it down into manageable steps makes the process much more approachable. Start by cleaning the damaged area thoroughly to remove dirt and debris. This ensures that any products you apply adhere properly.
If you’re dealing with a dent, use a dent puller or a hammer to gently push or pull the metal back into shape. Be patient; rushing this step can lead to further damage. After addressing the dent, it’s time to tackle scratches.
For minor scratches that haven’t penetrated through to the metal, you can often buff them out using a polishing compound. If the scratch is deeper, apply body filler according to the manufacturer’s instructions. Once it has dried, sand it down until it’s smooth and flush with the surrounding area.
Finally, clean the surface again before moving on to painting.
Addressing Rust and Corrosion Issues
Rust and corrosion can be some of the most challenging issues to deal with in auto body repair. If left untreated, they can compromise the integrity of your vehicle’s structure. Start by identifying any rust spots on your vehicle; these often appear as reddish-brown patches on metal surfaces.
Once located, use a wire brush or sandpaper to remove loose rust and paint around the affected area. After cleaning up the rust, treat the area with a rust-inhibiting primer or converter to prevent further corrosion. If the damage is extensive, you may need to cut out affected sections and replace them with new metal patches.
This requires careful measuring and welding skills, so be sure you’re comfortable with this level of repair before proceeding. Addressing rust promptly will not only improve your vehicle’s appearance but also extend its lifespan.
Painting and Finishing Techniques for a Professional Look
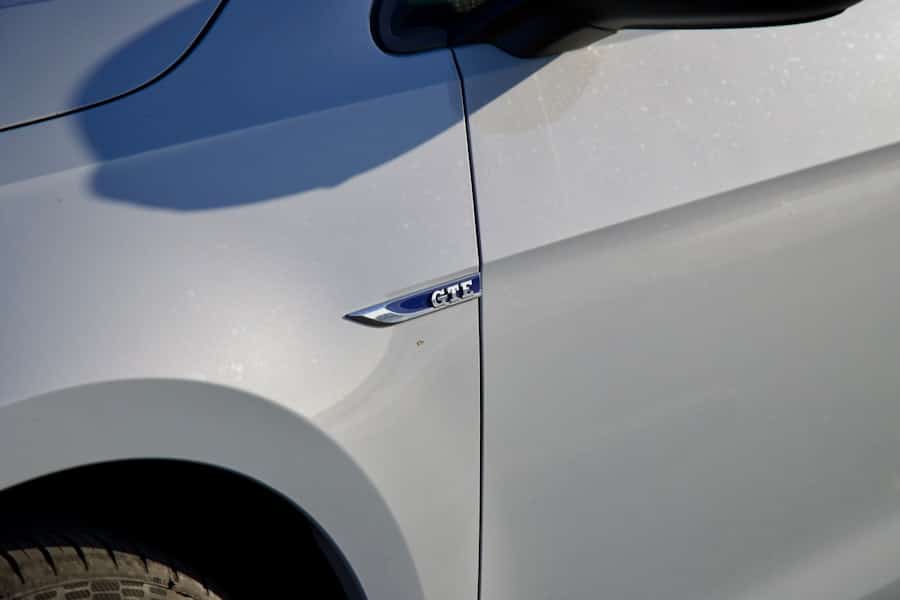
Achieving a professional finish when painting your vehicle is all about preparation and technique. Start by ensuring that the surface is clean and free of dust or debris. Apply primer evenly over any repaired areas; this step is crucial for ensuring that your paint adheres properly and provides an even finish.
Once the primer has dried, sand it lightly to create a smooth surface for painting. When it comes time to paint, consider using a spray gun for an even application. Hold the gun at a consistent distance from the surface and use smooth, sweeping motions to avoid drips or uneven patches.
Multiple thin coats are preferable to one thick coat; this allows for better drying and reduces the risk of runs in the paint. After applying your final coat, allow it to cure fully before applying any clear coat for added protection and shine.
Safety Precautions and Tips for DIY Auto Body Repair
Safety should always be your top priority when undertaking DIY auto body repairs. Start by wearing appropriate personal protective equipment (PPE), including gloves, goggles, and a mask to protect against dust and fumes from paints and solvents. Ensure that you’re working in a well-ventilated area to minimize exposure to harmful chemicals.
Additionally, be mindful of your surroundings while working on your vehicle. Keep tools organized and out of walkways to prevent accidents. If you’re using power tools or heavy equipment, make sure you’re familiar with their operation to avoid injuries.
Taking these precautions will not only keep you safe but also enhance your overall efficiency during the repair process.
Knowing When to Seek Professional Help
While many auto body repairs can be tackled as DIY projects, there are times when seeking professional help is advisable. If you encounter extensive damage that requires specialized skills—such as frame straightening or advanced welding—it may be best to consult with an experienced technician. Additionally, if you’re unsure about your ability to achieve a satisfactory finish or if you’re working with high-value vehicles, professional assistance can save you time and potential frustration.
Recognizing your limits is key in any DIY endeavor. If you find yourself feeling overwhelmed or if repairs are taking longer than anticipated, don’t hesitate to reach out for help. Professionals have access to advanced tools and techniques that can ensure your vehicle is restored correctly and safely.
Ultimately, knowing when to seek assistance can save you both time and money in the long run. In conclusion, embarking on DIY auto body repair can be a rewarding experience that enhances your skills while saving money on professional services. By understanding the basics of auto body repair, equipping yourself with the right tools and materials, assessing damage accurately, following step-by-step guides for repairs, addressing rust issues effectively, mastering painting techniques, prioritizing safety precautions, and knowing when to seek professional help, you can achieve impressive results in restoring your vehicle’s appearance and functionality.
If you are interested in learning more about the importance of customer service in auto body repair, you should check out the article The Importance of Customer Service in Auto Body Repair: Building Trust and Loyalty. This comprehensive guide discusses how customer service plays a crucial role in establishing trust and loyalty with clients in the auto repair industry. It also provides valuable insights on how to enhance the overall customer experience through transparency, communication, and the use of CRM systems.
FAQs
What is DIY auto body repair?
DIY auto body repair refers to the process of repairing and restoring the exterior of a vehicle on your own, without the help of a professional auto body shop.
What are some common DIY auto body repairs?
Common DIY auto body repairs include fixing dents, scratches, rust spots, and minor paint damage on the vehicle’s exterior.
What tools and materials are needed for DIY auto body repair?
Tools and materials needed for DIY auto body repair may include sandpaper, body filler, primer, paint, clear coat, masking tape, a sander, and other specialized tools for dent removal and paint application.
What are the steps involved in DIY auto body repair?
The steps involved in DIY auto body repair typically include preparing the damaged area, applying body filler, sanding, priming, painting, and applying a clear coat for a smooth finish.
What are the benefits of DIY auto body repair?
The benefits of DIY auto body repair include cost savings, the satisfaction of completing the repair yourself, and the ability to customize the repair to your specific preferences.
What are the limitations of DIY auto body repair?
Limitations of DIY auto body repair include the potential for mistakes, the need for specialized tools and skills, and the inability to tackle more complex or extensive damage without professional assistance.