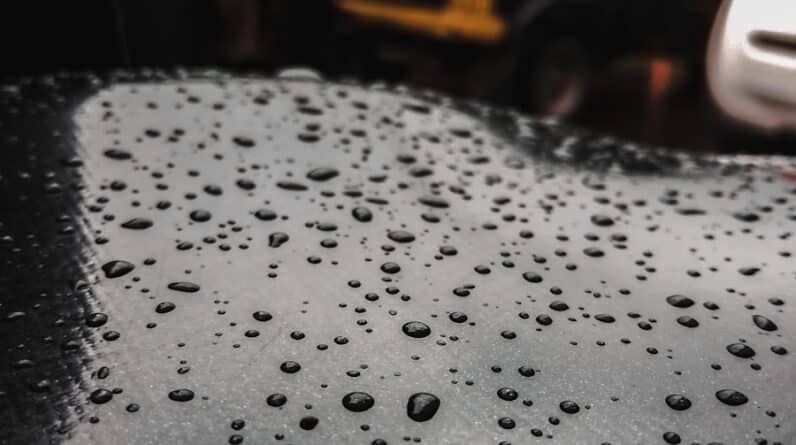
Rust is a common adversary for vehicle owners, and understanding its nature is crucial for maintaining the integrity of your auto body. At its core, rust is the result of a chemical reaction between iron, oxygen, and moisture, leading to the formation of iron oxide. This process, known as oxidation, can occur when your vehicle is exposed to the elements, especially in regions with high humidity or where road salt is frequently used during winter months.
As rust develops, it can compromise the structural integrity of your vehicle, leading to more severe damage if left untreated. You may not realize it, but rust can also affect the aesthetic appeal of your car. Unsightly patches can detract from its overall appearance and reduce its resale value.
Moreover, if rust penetrates deeper into the metal, it can lead to holes and significant structural issues that may require extensive repairs or even replacement of parts. Understanding the impact of rust on your auto body is the first step in taking proactive measures to combat it. By recognizing the signs of rust early on, you can save yourself time, money, and frustration in the long run.
- Rust can significantly impact the appearance and structural integrity of auto body, leading to safety concerns and decreased value.
- Gathering the necessary tools and materials such as sandpaper, rust remover, and protective gear is essential for effective rust removal.
- Preparing the work area by ensuring proper ventilation and safety measures is crucial to prevent accidents and exposure to harmful chemicals.
- Following a step-by-step guide for rust removal, including sanding, applying rust remover, and priming, is key to restoring the auto body.
- Applying rust inhibitors and protective coatings after repairing the metal surface can help prevent future rust formation and maintain the restored auto body.
Gathering the Necessary Tools and Materials for Rust Removal
Before embarking on your rust removal journey, it’s essential to gather all the necessary tools and materials. Having everything at your fingertips will streamline the process and ensure that you don’t have to pause midway through to search for a missing item. Start by collecting basic tools such as sandpaper or a wire brush for surface preparation.
You might also want to invest in a power sander for larger areas, as this can significantly speed up the removal process. In addition to tools, you’ll need specific materials designed for rust removal. A rust converter can be particularly useful; it chemically transforms rust into a stable compound that can be painted over.
You should also have primer and paint that match your vehicle’s color for the final touch-up. Don’t forget safety gear such as gloves, goggles, and a mask to protect yourself from dust and chemicals during the process. By preparing adequately, you set yourself up for success in restoring your vehicle’s auto body.
Preparing the Work Area and Ensuring Safety
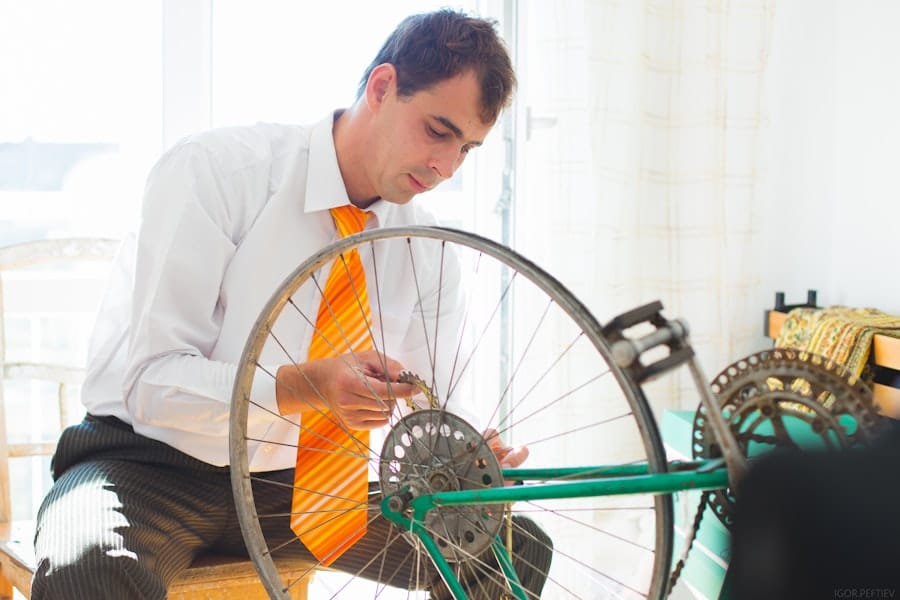
Creating a safe and organized work area is vital when tackling rust removal on your auto body. Choose a well-ventilated space, preferably outdoors or in a garage with good airflow. This will help dissipate any fumes from chemicals you may use during the process.
Clear the area of any unnecessary items to minimize distractions and potential hazards. If you’re working outdoors, consider using a tarp or drop cloth to protect the ground from debris and spills. Safety should be your top priority throughout this project.
Equip yourself with protective gear such as gloves to shield your hands from sharp metal edges and chemicals. Safety goggles are essential to protect your eyes from dust and debris that may arise during sanding or grinding. A mask will help filter out harmful particles in the air, especially if you’re working with rust converters or paints that emit fumes.
By taking these precautions, you can focus on the task at hand without worrying about potential injuries.
Step-by-Step Guide to Removing Rust from Auto Body
Now that you’ve prepared your work area and gathered your tools, it’s time to dive into the step-by-step process of removing rust from your auto body. Start by assessing the extent of the rust damage; this will help you determine how much work is needed. For surface rust, you can often tackle it with sandpaper or a wire brush.
Begin by sanding down the affected area until you reach bare metal, ensuring that you remove all traces of rust. If you encounter deeper rust spots, you may need to use a grinder or a power sander for more effective removal. Once you’ve stripped away the rust, clean the area thoroughly with soap and water to remove any dust or debris.
After drying, apply a rust converter if necessary; this will help stabilize any remaining rust particles and prevent further corrosion. Following this treatment, allow it to cure as per the manufacturer’s instructions before moving on to priming and painting.
Repairing and Restoring the Metal Surface
After successfully removing rust from your auto body, it’s time to focus on repairing and restoring the metal surface. Depending on the severity of the damage, you may need to fill in any pits or holes left behind after rust removal. A body filler can be an excellent solution for this; apply it according to the product instructions and allow it to cure fully before sanding it down to create a smooth surface.
Once you’ve achieved a smooth finish, it’s essential to prime the area before painting. Primer acts as a protective barrier against moisture and helps paint adhere better to the metal surface. Choose a primer suitable for automotive applications and apply it evenly over the repaired area.
After allowing it to dry completely, you can proceed with painting using a color that matches your vehicle. This step not only enhances aesthetics but also provides an additional layer of protection against future rust formation.
Applying Rust Inhibitors and Protective Coatings
To ensure that your hard work pays off in the long run, applying rust inhibitors and protective coatings is crucial after completing repairs on your auto body. Rust inhibitors are specially formulated products designed to prevent corrosion by creating a barrier between metal surfaces and moisture. You can find various types of inhibitors available in spray or liquid form; choose one that suits your needs best.
Once you’ve applied a rust inhibitor, consider adding a protective coating such as clear coat or wax over the paint job. This additional layer will not only enhance shine but also provide extra protection against environmental factors like UV rays and moisture that contribute to rust formation. Regularly maintaining this protective layer will help keep your vehicle looking great while safeguarding it against future corrosion.
Tips for Preventing Future Rust Formation
Preventing future rust formation is an ongoing commitment that requires vigilance and care. One of the most effective strategies is regular washing of your vehicle, especially during winter months when road salt is prevalent. Salt can accelerate corrosion, so rinsing off any residue after driving in salty conditions is essential for protecting your auto body.
Additionally, consider applying a wax coating every few months to create a barrier against moisture and contaminants. Inspecting your vehicle regularly for any signs of chips or scratches in the paint can also help; addressing these issues promptly will prevent moisture from seeping into exposed metal surfaces. By adopting these preventive measures, you can significantly extend the life of your vehicle’s auto body and keep it looking pristine.
Final Inspection and Maintenance of the Restored Auto Body
After completing all steps in your rust removal and restoration process, conducting a final inspection is crucial before considering the job done. Carefully examine the repaired areas for any imperfections or missed spots that may require touch-ups. Ensure that all layers—primer, paint, and protective coatings—are applied evenly and thoroughly cured.
Once satisfied with your work, establish a maintenance routine to keep your auto body in top condition. Regularly wash your vehicle and inspect for any signs of new rust formation or damage. Keeping an eye on these details will allow you to address issues early on before they escalate into more significant problems.
By committing to ongoing maintenance, you’ll enjoy a well-preserved auto body that stands up against time and environmental challenges. In conclusion, understanding rust and its impact on your auto body is essential for effective maintenance and restoration. By gathering the right tools, preparing your workspace safely, following a detailed removal process, and applying protective measures afterward, you can successfully combat rust and preserve your vehicle’s integrity for years to come.
If you’re looking to restore your car’s metal and remove rust, you may also be interested in learning about the best auto body repair shops in Oakland, California. Check out this article here to find top-rated shops that can help with your car restoration needs. Additionally, understanding car repair protection and navigating warranty and insurance choices is crucial for maintaining your vehicle’s condition. Learn more about this topic in the article here.
FAQs
What is auto body rust removal?
Auto body rust removal is the process of eliminating rust from the metal surfaces of a vehicle’s body. This is important for maintaining the structural integrity and appearance of the vehicle.
Why is it important to remove rust from a vehicle’s body?
Rust can weaken the metal and compromise the safety and structural integrity of the vehicle. It can also detract from the appearance and value of the vehicle.
What are the steps involved in DIY auto body rust removal?
The steps involved in DIY auto body rust removal typically include cleaning the affected area, removing the rust using sanding or grinding tools, applying a rust converter or primer, and finishing with paint or a protective coating.
What tools and materials are needed for DIY auto body rust removal?
Tools and materials needed for DIY auto body rust removal may include sandpaper, wire brushes, grinding tools, rust converter or primer, paint, protective gear, and rust removal products.
Are there any safety precautions to consider when removing rust from a vehicle’s body?
Yes, it is important to wear protective gear such as gloves, goggles, and a mask to protect against rust particles and fumes. It is also important to work in a well-ventilated area and to follow the instructions on any chemical products used for rust removal.