Have you ever been in a situation where your car’s bumper got damaged and you’re left wondering how to fix it without breaking the bank? Fear not, because in this comprehensive guide, you will learn all you need to know about DIY bumper repair. Whether it’s a small scratch or a dent, you’ll be able to restore your car’s exterior with ease, saving you time and money. Let’s get started on this journey to transform your car back to its former glory!

Assessing the Damage
Before diving into the repair process, it’s essential to assess the extent of the damage to your car’s bumper. Take a close look at the affected area and determine whether it’s a minor scratch, a dent, or if there are any missing pieces. Knowing the severity of the damage will help you decide on the appropriate tools and materials needed for the repair.
When assessing the damage, make sure to check for any underlying issues that may not be visible at first glance. Sometimes a small scratch can reveal more significant damage underneath the surface, so be thorough in your evaluation. Remember, the more you know about the damage, the better equipped you’ll be to tackle the repair effectively.
What to Look for When Assessing Damage
- Scratch: A superficial mark on the surface of the bumper that hasn’t penetrated the paint.
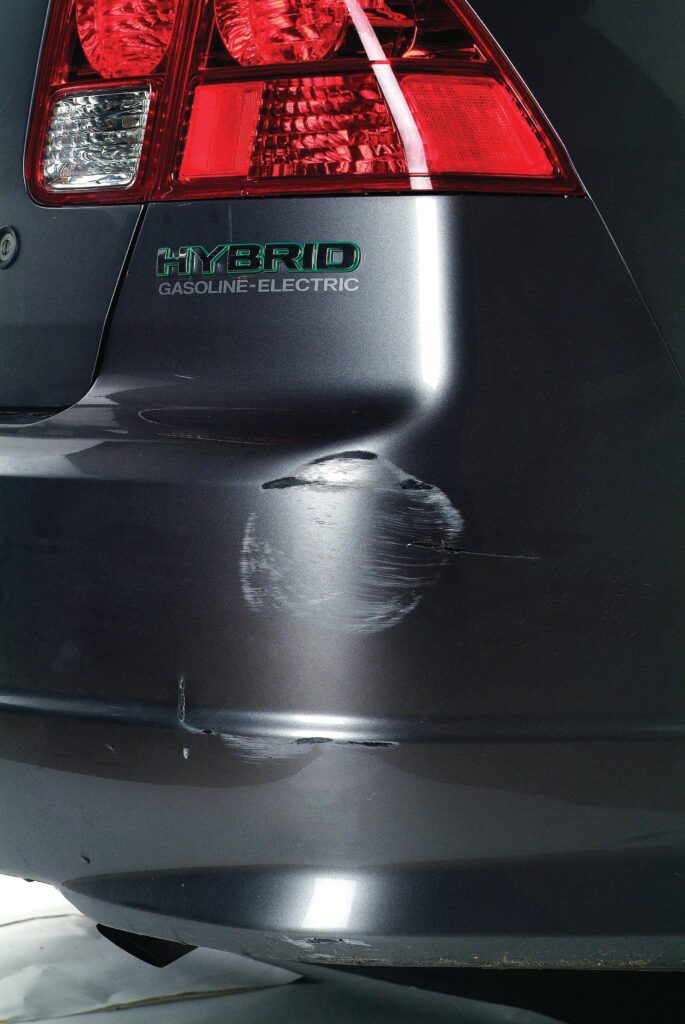
- Dent: A depression in the bumper caused by an impact or collision.
- Crack: A visible break or split in the bumper, often requiring more extensive repair.
- Missing Pieces: Parts of the bumper that have broken off completely and need to be replaced.
Gathering the Necessary Materials and Tools
Once you have assessed the damage to your car’s bumper, it’s time to gather the materials and tools you’ll need for the repair. Depending on the severity of the damage, you may require different products to restore your bumper to its original condition. Here’s a list of essential items you’ll need for most DIY bumper repairs:
Materials:
- Sandpaper (varying grits)
- Body filler
- Primer
- Paint (matching your car’s color)
- Clear coat
- Masking tape
- Clean cloth
Tools:
- Heat gun or hairdryer
- Plastic spreader
- Sanding block
- Paintbrush or spray gun
- Microfiber cloth
- Gloves
Tips for Buying Materials and Tools
- Purchase enough materials to cover the entire damaged area and have some extra for touch-ups.
- Check that the paint color matches your car’s color code for a seamless finish.
- Invest in quality tools that will make the repair process easier and more efficient.
Preparing the Bumper for Repair
Before you can start repairing the damage to your car’s bumper, it’s essential to prepare the surface properly. This step is crucial for ensuring the longevity of the repair and achieving a professional-looking finish. Here’s how you can prepare your bumper for the repair process:
Cleaning the Surface
Start by washing the bumper with soap and water to remove any dirt, grime, or debris. Make sure to dry the surface thoroughly before proceeding to the next step.
Sanding the Area
Use sandpaper to smooth out the damaged area, removing any rough edges or imperfections. Start with a coarse grit sandpaper to level the surface and then gradually move to a finer grit for a smooth finish.
Applying Masking Tape
Use masking tape to outline the damaged area on the bumper, creating a boundary for the repair work. This will help keep the repair confined to the affected area and prevent any accidental damage to the surrounding paint.
Repairing Minor Scratches and Surface Damage
For minor scratches and surface damage to your car’s bumper, you can easily repair them using a few simple steps. Follow these instructions to restore your bumper to its original condition:
Sanding the Scratch
Use fine grit sandpaper to gently sand the scratch, focusing on smoothing out the damaged area. Be careful not to sand too aggressively, as you may end up causing more harm to the bumper.
Applying Body Filler
Apply a thin layer of body filler to the scratched area, using a plastic spreader to even out the surface. Make sure to follow the instructions on the body filler product for the best results.
Sanding and Painting
Once the body filler has dried, sand the repair area again to create a smooth finish. Then, prime and paint the repaired section, making sure to match the color of your car for a seamless blend. Finish off with a clear coat to protect the paint and give it a glossy finish.
Repairing Dents and Depression in the Bumper
Dents are a common issue that many car owners face, but they can be easily repaired with the right tools and materials. Follow these steps to fix dents and depressions in your bumper effectively:
Heating the Dent
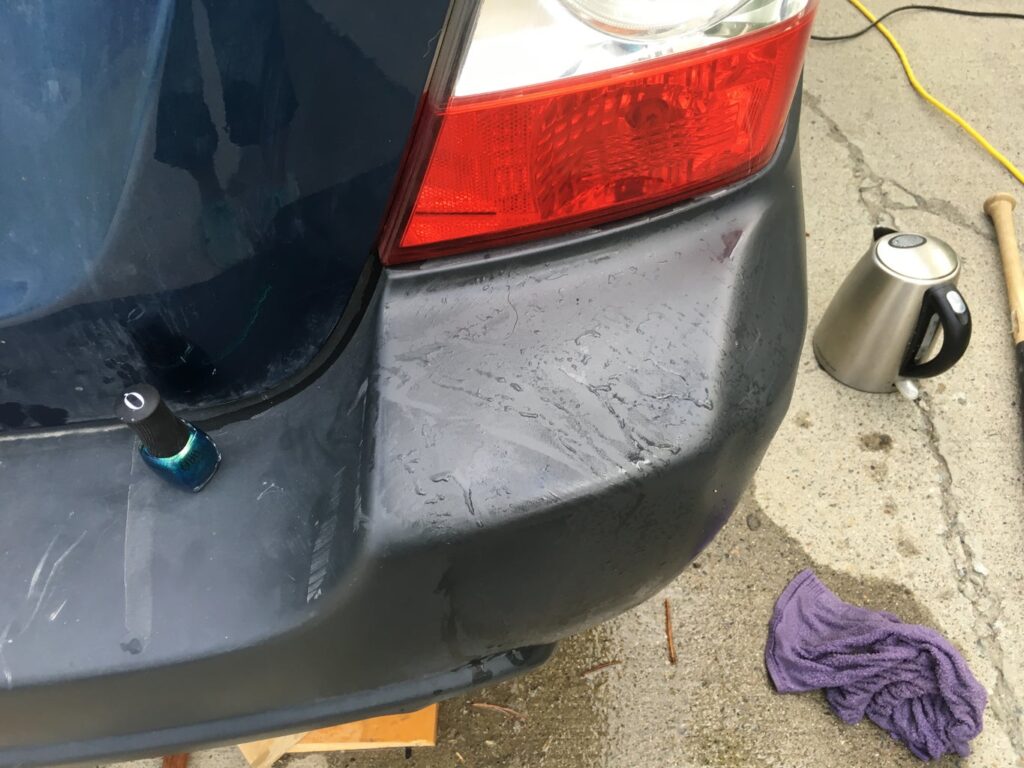
Use a heat gun or hairdryer to heat the dented area of the bumper, making the plastic more pliable and easier to work with. Be careful not to overheat the surface, as it may cause damage to the paint.
Using Body Filler
Apply body filler to the dented area, filling in the depression and creating a smooth surface. Use a plastic spreader to distribute the filler evenly and remove any excess product.
Sanding and Painting
After the body filler has dried, sand the repair area to blend it with the rest of the bumper. Prime and paint the repaired section, ensuring that the color matches your car’s paint for a perfect finish. Apply a clear coat to protect the paint and give it a professional appearance.
Repairing Cracks and Split Bumper Sections
Cracks in your car’s bumper can be a more challenging repair, but with the right tools and techniques, you can easily fix them at home. Follow these steps to repair cracks and split bumper sections effectively:
Cleaning and Preparing the Crack
Start by cleaning the cracked area of the bumper thoroughly, removing any dirt or debris that may interfere with the repair process. Use a clean cloth to wipe down the surface and ensure it’s dry before proceeding.
Applying Epoxy or Specialized Adhesive
Use epoxy or a specialized adhesive to fill in the crack, ensuring that it’s completely sealed and secure. Apply the adhesive according to the manufacturer’s instructions for the best results.
Sanding and Painting
Once the adhesive has set, sand the repair area to smooth out any rough edges or imperfections. Prime and paint the cracked section of the bumper, matching the color of your car for a seamless blend. Finish off with a clear coat to protect the paint and provide a glossy finish.
Replacing Missing Pieces of the Bumper
If parts of your bumper have broken off completely, you may need to replace them with new pieces to restore your car’s exterior. Here’s how you can replace missing pieces of the bumper effectively:
Purchasing Replacement Parts
Find replacement parts for your car’s bumper that match the style and color of the original piece. You can purchase these parts from a local auto body shop or online retailer for convenience.
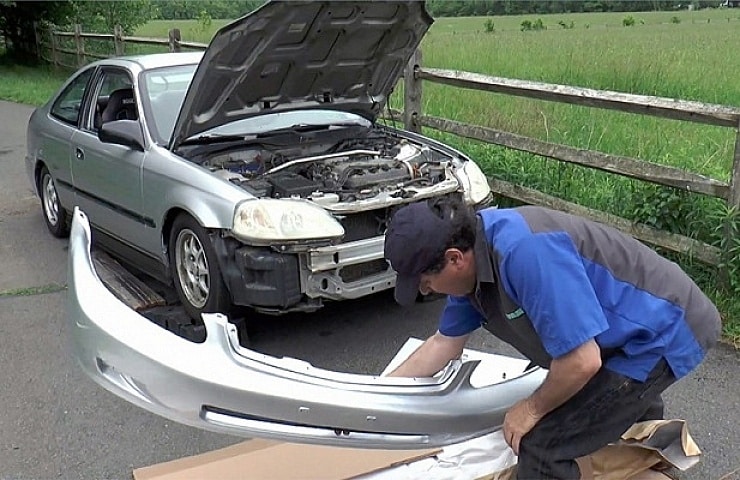
Removing the Damaged Section
Carefully remove the damaged section of the bumper using a screwdriver or trim removal tool. Be gentle to avoid causing further damage to the surrounding areas of the bumper.
Installing the New Piece
Attach the new piece to the bumper using screws or clips, making sure it fits snugly and securely in place. Check that the piece is aligned correctly with the rest of the bumper for a seamless finish.
Final Touch-Ups and Maintenance
After completing the necessary repairs to your car’s bumper, it’s essential to do some final touch-ups and maintenance to ensure the longevity of the repair. Here are a few tips to help you maintain your bumper’s appearance:
Waxing and Polishing
Apply wax and polish to the repaired area of the bumper to protect the paint and give it a shiny finish. This will help maintain the appearance of your bumper and prevent future damage.
Regular Cleaning
Make it a habit to clean your car’s bumper regularly, removing any dirt, grime, or debris that can accumulate over time. Use a gentle soap and water solution to keep the bumper looking fresh and clean.
Inspecting for Damage
Periodically inspect your car’s bumper for any signs of damage or wear and tear. Addressing any issues early on can help prevent further damage and costly repairs down the line.
Congratulations! You’ve successfully learned how to repair your car’s bumper using this step-by-step guide. With the right tools and materials, you can restore your car’s exterior to its former glory without breaking the bank. Remember to take your time, follow the instructions carefully, and enjoy the rewarding experience of DIY bumper repair. Happy repairing!