When you first approach a vehicle that has sustained damage, your initial step is to conduct a thorough assessment. This process is crucial, as it allows you to identify the extent of the damage and determine what repairs are necessary. You should start by examining the exterior of the vehicle, looking for any visible dents, scratches, or misalignments.
Pay close attention to the body panels, as these are often the most affected areas in an accident. Take your time to inspect every inch, as even minor damage can lead to more significant issues if left unaddressed. Once you have a clear picture of the visible damage, it’s essential to look beneath the surface.
This may involve removing certain components or panels to get a better view of the underlying structure. You might find that the frame has been bent or that there are hidden issues that need to be resolved. Documenting your findings is vital; take photographs and make notes to keep track of what needs to be repaired or replaced.
This assessment will serve as your roadmap for the repair process, guiding you through each step as you work to restore the vehicle to its former glory.
- Assessing the damage is crucial to understanding the extent of the repair needed for the vehicle.
- Proper preparation of the vehicle is essential before beginning the repair process.
- Carefully removing the old body panels is important to avoid causing further damage to the vehicle.
- Fitting the new body panels requires precision and attention to detail for a seamless repair.
- Securing the panels in place is necessary to ensure they stay in position and maintain the vehicle’s structural integrity.
Preparing the Vehicle
Gathering Essential Tools and Materials
To ensure a successful restoration, it’s crucial to prepare your vehicle for repairs. Start by gathering all the necessary tools and materials, including wrenches, screwdrivers, replacement panels, and safety gear such as gloves and goggles. Having everything organized will streamline your workflow and minimize interruptions during the repair process.
Creating a Safe and Efficient Workspace
Before diving into the actual repairs, clean the area around the vehicle to remove any debris or obstacles that could hinder your progress. If possible, work in a well-lit environment to ensure you can see all details clearly. Additionally, consider disconnecting the battery to prevent any electrical issues while you’re working on the vehicle.
Enhancing Safety and Efficiency
Taking these preparatory steps not only enhances safety but also helps you maintain focus and efficiency as you move forward with the repairs. By being prepared, you’ll be able to tackle the repairs with confidence and ensure a successful outcome.
Removing the Old Body Panels
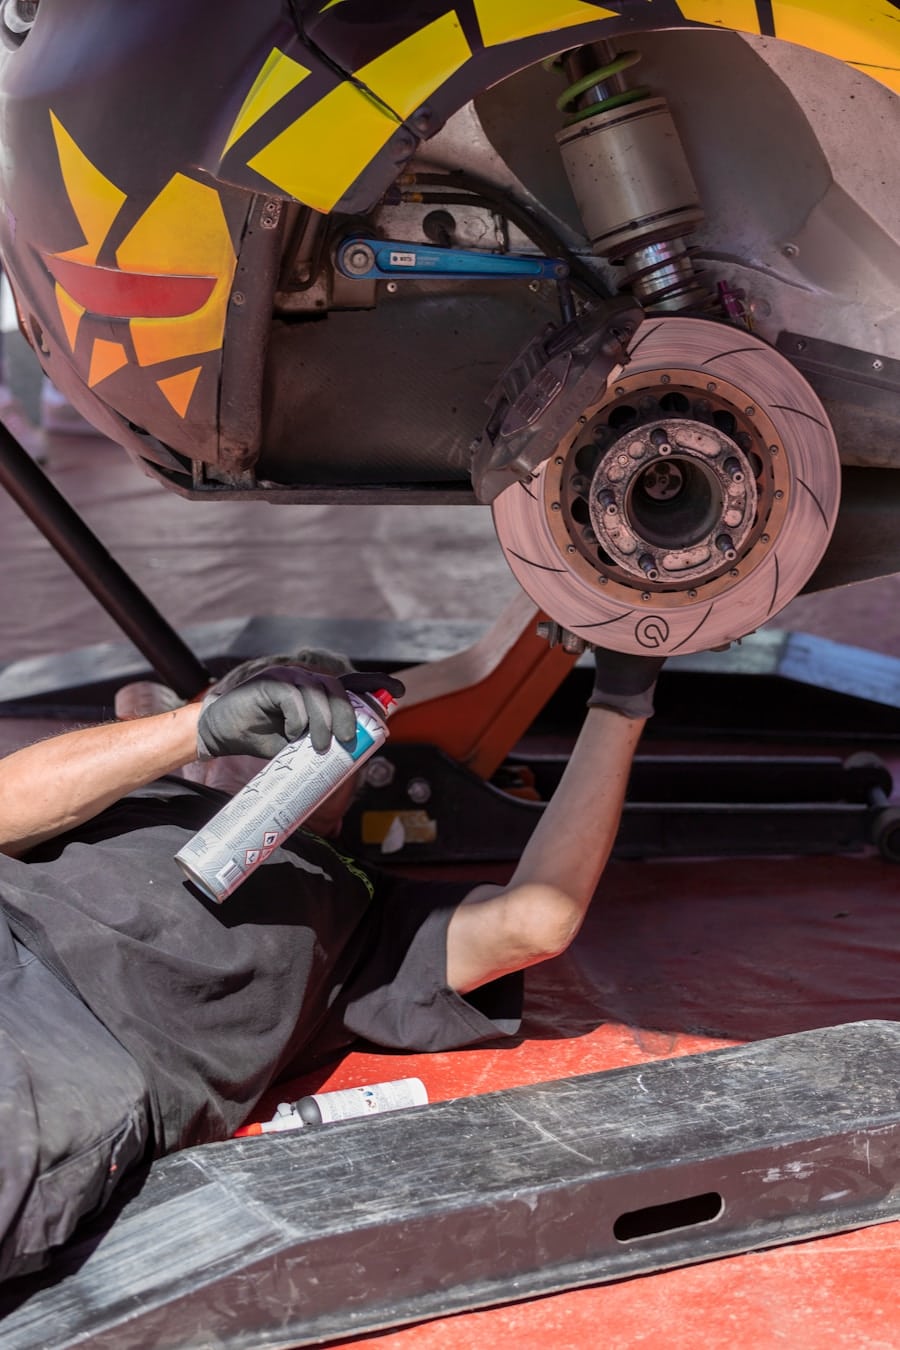
Now that you’ve prepared the vehicle, it’s time to tackle the removal of the old body panels. This step requires careful attention to detail, as improper removal can lead to further damage or complications down the line. Begin by identifying how each panel is attached—some may be secured with bolts, while others might be held in place with clips or adhesive.
Use the appropriate tools to carefully detach each panel without causing additional harm to surrounding areas. As you remove each panel, take note of how they are connected and any specific hardware used. It can be helpful to keep all screws and fasteners organized in labeled containers so that you can easily find them when it’s time to install the new panels.
If you encounter any rust or corrosion during this process, address it immediately to prevent it from affecting your new panels. Once all old panels are removed, take a moment to inspect the underlying structure for any additional damage that may need attention before proceeding.
Fitting the New Body Panels
With the old panels out of the way, you can now focus on fitting the new body panels onto your vehicle. This step is crucial for ensuring that everything aligns correctly and fits snugly. Start by carefully positioning each new panel in place, making sure it corresponds with the contours of the vehicle’s body.
It’s important to take your time during this phase; rushing can lead to misalignment or gaps that will be difficult to fix later. As you fit each panel, check for any obstructions or misalignments that may need adjustment. You might find that some panels require slight modifications for a perfect fit.
Don’t hesitate to use tools like a rubber mallet or clamps to help position them correctly. Once you’re satisfied with how everything looks, it’s a good idea to temporarily secure the panels in place with a few screws or clips before moving on to the next step. This will allow you to make any necessary adjustments before finalizing their installation.
Securing the Panels in Place
After ensuring that all new body panels are properly fitted, it’s time to secure them in place for good. This step is essential for maintaining structural integrity and ensuring that everything remains aligned over time. Begin by following the manufacturer’s specifications for securing each panel; this may involve using specific types of screws or fasteners designed for your vehicle model.
As you work through this process, double-check that each panel is aligned correctly before tightening any screws completely. It’s easy to overlook minor misalignments at this stage, but taking a moment to verify everything will save you headaches later on. Once you’re confident that everything is in its rightful place, go ahead and tighten all fasteners securely but be cautious not to overtighten, as this could lead to warping or cracking of the panels.
Checking for Proper Alignment
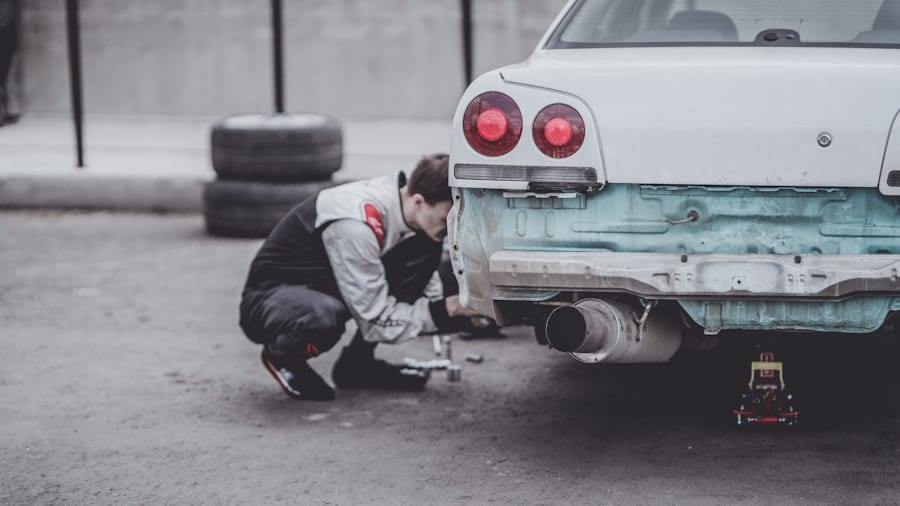
With all panels secured, it’s crucial to check for proper alignment before moving on to finishing touches. This step ensures that your hard work pays off and that the vehicle looks as good as new once completed. Start by stepping back and visually inspecting the vehicle from various angles; this will help you identify any noticeable misalignments or gaps between panels.
In addition to visual checks, consider using measuring tools to confirm that everything is symmetrical and aligned according to factory specifications. If you notice any discrepancies, take the time to make adjustments now rather than later when it may be more challenging to correct them. Proper alignment not only enhances aesthetics but also contributes to overall vehicle performance and safety.
Finishing Touches
Once you’ve confirmed that everything is aligned correctly, it’s time for those finishing touches that will elevate your repair job from good to great. Start by applying any necessary sealants or adhesives around joints and seams where water could potentially enter. This step is vital for preventing rust and ensuring longevity in your repairs.
Next, consider painting or applying protective coatings to match the rest of the vehicle’s exterior. If you’re not experienced with painting, it might be worth consulting a professional or practicing on scrap material first. A well-executed paint job can make all the difference in achieving a seamless look after repairs.
Finally, clean up any excess materials or debris from your workspace; a tidy area reflects professionalism and attention to detail.
Final Inspection
The last step in your repair journey is conducting a final inspection of your work. This is your opportunity to ensure that everything has been completed correctly and meets your standards of quality. Begin by reviewing your initial assessment notes and photographs; compare them with what you see now after repairs have been made.
Take your time during this inspection phase—check every panel for alignment, secure fasteners, and finish quality. If anything seems off or if you notice areas that require touch-ups, address them immediately before considering the job complete. Once satisfied with your work, take pride in knowing that you’ve successfully restored your vehicle’s body panels and returned it to its former condition, ready for many more miles ahead.
If you are looking to properly install new body panels on your automobile, it is important to consider your vehicle’s warranty and insurance coverage. A related article on this topic can be found at autobodyrepairhq.com. This article discusses the importance of understanding your vehicle’s warranty and insurance policies when it comes to car repairs. It provides valuable information on how to navigate these safeguards to ensure that your new body panels are installed correctly and covered by your insurance.
FAQs
What are body panels on an automobile?
Body panels are the outer metal or plastic components of a vehicle that make up its exterior shell. These panels include the doors, fenders, hood, trunk, and other parts that cover the frame of the car.
Why would I need to install new body panels on my automobile?
You may need to install new body panels on your automobile if the existing panels are damaged, rusted, or otherwise compromised. This could be due to accidents, wear and tear, or corrosion over time.
What tools and materials do I need to properly install new body panels?
To properly install new body panels, you will need a variety of tools including a welder, grinder, body filler, sandpaper, primer, paint, and other automotive body repair tools. You may also need specific tools depending on the type of body panel and the make and model of your vehicle.
What are the steps to properly install new body panels on an automobile?
The steps to properly install new body panels on an automobile include removing the old panel, preparing the surface, fitting and aligning the new panel, welding or bonding it in place, applying body filler, sanding, priming, and painting the panel to match the rest of the vehicle.
Can I install new body panels on my automobile myself, or should I seek professional help?
While it is possible to install new body panels on your automobile yourself, it can be a complex and time-consuming process that requires specific skills and tools. If you are not experienced in automotive body repair, it may be best to seek professional help to ensure the panels are installed properly.