When you think about automobile audio systems, you might envision a simple radio or a basic speaker setup. However, the world of car audio is far more intricate and exciting than that. At its core, an automobile audio system is designed to enhance your driving experience by delivering high-quality sound.
This involves a combination of various components, including head units, speakers, amplifiers, and subwoofers, all working together to create a rich auditory environment. Understanding these components and how they interact is essential for anyone looking to upgrade or install a new audio system in their vehicle. The head unit, often referred to as the receiver, serves as the control center of your audio system.
It allows you to manage your music sources, whether they be radio, CDs, or digital files from your smartphone. The speakers are responsible for producing sound, while amplifiers boost the audio signal to ensure clarity and volume. Subwoofers add depth to the sound by reproducing low-frequency bass notes.
By grasping these fundamentals, you can make informed decisions about what components will best suit your needs and preferences.
- Understanding the basics of automobile audio systems is essential for a successful installation.
- Preparing the vehicle for audio system installation involves assessing space, power requirements, and potential modifications.
- Choosing the right components for your audio system requires consideration of sound quality, compatibility, and budget.
- Installing a head unit or receiver is a crucial step in setting up the audio system and requires careful wiring and mounting.
- Installing speakers and subwoofers involves positioning, wiring, and ensuring proper fit within the vehicle.
Preparing the Vehicle for Audio System Installation
Before diving into the installation process, it’s crucial to prepare your vehicle adequately. This preparation not only ensures a smoother installation but also helps protect your car’s interior and electrical systems. Start by gathering all necessary tools and components, including screwdrivers, wire strippers, and connectors.
Having everything on hand will save you time and frustration during the installation process. Additionally, consider reading through the manuals for each component to familiarize yourself with their specific requirements and installation procedures. Next, you should create a clean workspace within your vehicle.
Remove any items from the dashboard and center console that may obstruct your access to the head unit or wiring harnesses. If you’re working on the doors to install speakers, ensure that you have enough room to maneuver without damaging any interior panels. It’s also wise to disconnect the car battery before starting any electrical work.
This precaution helps prevent short circuits and protects both you and your vehicle’s electrical system from potential damage.
Choosing the Right Components for Your Audio System
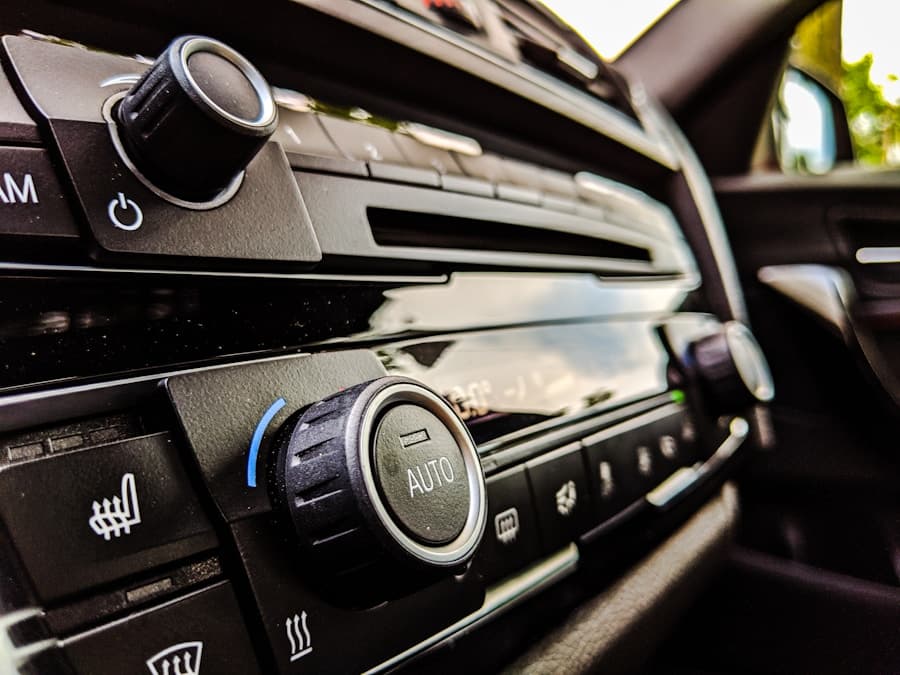
Selecting the right components for your audio system is a critical step that can significantly impact your listening experience. Start by considering your listening preferences and how you typically use your audio system. Are you an audiophile who craves crystal-clear sound quality, or do you simply want something that plays music at a decent volume?
Your answers will guide you in choosing components that align with your expectations. When it comes to speakers, you’ll find a variety of options ranging from coaxial to component speakers. Coaxial speakers are often more straightforward to install and provide a good balance of sound quality and affordability.
On the other hand, component speakers offer superior sound quality by separating the different frequency ranges into distinct units. If bass is a priority for you, investing in a quality subwoofer is essential. Additionally, don’t overlook the importance of amplifiers; they can significantly enhance the performance of your speakers by providing them with the power they need to deliver optimal sound.
Installing a Head Unit or Receiver
Installing a head unit is one of the most rewarding aspects of upgrading your car’s audio system. The head unit is not only the brain of your audio setup but also serves as a focal point for your vehicle’s interior. Begin by removing the existing head unit carefully; this usually involves unscrewing it from its mounting bracket and disconnecting the wiring harnesses.
Take your time during this step to avoid damaging any surrounding components. Once the old unit is out, it’s time to install the new head unit. Connect the wiring harnesses according to the instructions provided with your new receiver.
Most modern head units come with detailed diagrams that make this process straightforward. After connecting everything, secure the head unit in place and test it before reassembling any panels. This step ensures that everything is functioning correctly and allows you to make any necessary adjustments before finalizing the installation.
Installing Speakers and Subwoofers
With the head unit successfully installed, you can now turn your attention to the speakers and subwoofers. The installation process for speakers varies depending on their location within the vehicle—whether they are in the doors, rear deck, or elsewhere. Start by removing any panels or grilles that cover the speaker locations.
This may require some gentle prying or unscrewing, so be cautious not to break any clips or fasteners. Once you have access to the speaker mounts, disconnect the old speakers and replace them with your new ones. Ensure that you connect the positive and negative terminals correctly to avoid phase issues that can affect sound quality.
If you’re adding a subwoofer, you’ll need to find an appropriate location in your vehicle—often in the trunk or under a seat—and secure it properly to prevent movement while driving. Connecting a subwoofer typically involves running power wires from the battery and connecting it to an amplifier if you’re using one.
Wiring and Connecting the Audio System

Wiring is one of the most critical aspects of installing an automobile audio system. Proper wiring ensures that all components communicate effectively and deliver optimal sound quality. Start by organizing your wires neatly; this not only makes troubleshooting easier later on but also helps maintain a clean aesthetic within your vehicle.
Use zip ties or wire looms to bundle wires together and keep them out of sight. When connecting wires, pay close attention to color codes and labels on each wire to avoid confusion. If you’re unsure about any connections, refer back to the manuals for each component or consult online resources for guidance.
It’s also essential to ensure that all connections are secure; loose connections can lead to poor sound quality or even complete system failure. After completing all wiring connections, double-check everything before reconnecting your car battery.
Tuning and Testing the Audio System
Once everything is installed and connected, it’s time for one of the most enjoyable parts of the process: tuning and testing your audio system. Start by reconnecting your car battery and powering on your head unit. Play a variety of music genres at different volume levels to assess how well each component performs.
Pay attention to clarity, bass response, and overall balance between different frequencies. Tuning involves adjusting settings such as equalization (EQ), crossover frequencies, and volume levels to achieve your desired sound profile. Most modern head units come equipped with built-in EQ settings that allow you to customize sound according to your preferences.
Take your time during this step; fine-tuning can make a significant difference in how enjoyable your listening experience is while driving.
Troubleshooting Common Installation Issues
Even with careful planning and execution, issues can arise during or after installing an automobile audio system. One common problem is poor sound quality, which can stem from incorrect wiring or mismatched components. If you notice distortion or imbalance in sound, revisit your connections and ensure that all components are compatible with one another.
Another frequent issue is power-related problems; if your system isn’t turning on at all, check fuses and ensure that all power connections are secure. If you’re experiencing intermittent sound loss or static noise, it may indicate a loose connection or faulty wiring somewhere in the system. Don’t hesitate to consult online forums or professional installers if you encounter persistent issues; sometimes a fresh set of eyes can help identify problems you might have overlooked.
In conclusion, upgrading or installing an automobile audio system can be a fulfilling project that enhances your driving experience significantly. By understanding the basics of audio systems, preparing your vehicle properly, choosing suitable components, and following through with careful installation and tuning, you can create an audio environment tailored specifically to your preferences. Remember that patience is key throughout this process; take your time to ensure everything is done correctly for optimal results.
If you are interested in learning more about maintaining your vehicle, you may want to check out the article Transparent Auto Care: How to Create Trustworthy Bonds with Your Mechanics. This article provides valuable tips on how to build a strong relationship with your mechanic and ensure that your car is well taken care of. By following these guidelines, you can feel confident in the maintenance and repair of your vehicle.
FAQs
What are the different types of automobile audio systems?
There are several types of automobile audio systems, including single DIN, double DIN, and custom installations. Single DIN systems are the standard size for most vehicles, while double DIN systems are larger and offer more features. Custom installations involve modifying the vehicle’s interior to accommodate a unique audio system setup.
What is the installation procedure for a single DIN automobile audio system?
The installation procedure for a single DIN automobile audio system involves removing the existing stereo unit, connecting the wiring harness and antenna adapter, mounting the new stereo into the dash, and testing the system to ensure it is functioning properly.
What is the installation procedure for a double DIN automobile audio system?
The installation procedure for a double DIN automobile audio system is similar to that of a single DIN system, but it involves a larger unit that may require additional modifications to the vehicle’s dash. This can include trimming or replacing dash panels to accommodate the larger stereo unit.
What is involved in a custom installation for an automobile audio system?
A custom installation for an automobile audio system involves modifying the vehicle’s interior to accommodate a unique audio setup. This can include custom mounting brackets, fiberglass fabrication, and other modifications to create a one-of-a-kind audio system.
What tools are needed for installing an automobile audio system?
The tools needed for installing an automobile audio system typically include screwdrivers, wire cutters/strippers, electrical tape, a wiring harness adapter, and a dash kit for mounting the new stereo unit. Additional tools may be required for custom installations, such as a Dremel tool for cutting and shaping custom panels.