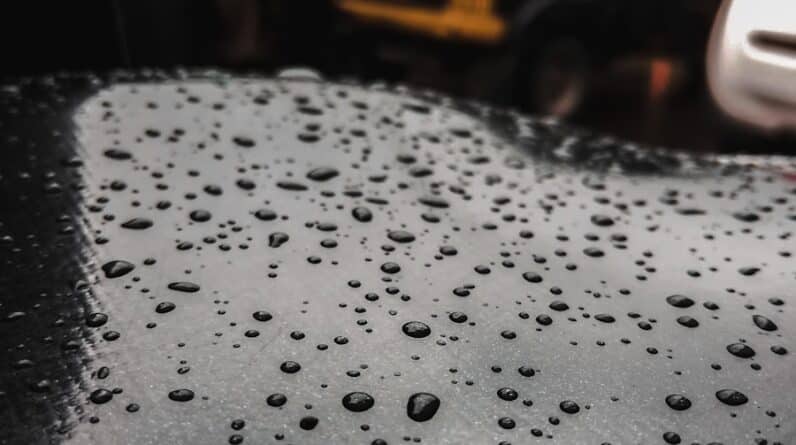
Before embarking on any automotive painting project, it is crucial to assess the condition of the automobile body thoroughly. This initial evaluation will help you identify any existing damage, rust, or imperfections that need to be addressed before applying a fresh coat of paint. Start by examining the vehicle under good lighting conditions, as this will allow you to spot any dents, scratches, or areas of corrosion that may not be immediately visible.
Pay close attention to the edges of doors, fenders, and the undercarriage, as these areas are often prone to wear and tear. Once you have conducted a visual inspection, it is wise to perform a tactile assessment as well. Run your hands over the surface of the car to feel for any irregularities.
You may discover small dings or rough patches that require further attention. Additionally, consider using a magnet to check for body filler in areas that may have been previously repaired. If the magnet does not stick, it could indicate that there is filler beneath the surface, which may need to be sanded down or replaced.
By taking the time to assess the condition of your automobile body thoroughly, you set the stage for a successful painting process.
- Assessing the condition of the automobile body is crucial before starting any painting process.
- Cleaning and removing old paint and rust is necessary to ensure a smooth and even surface for painting.
- Filling and sanding imperfections is important for achieving a flawless finish on the automobile body.
- Masking off areas that do not require painting is essential to avoid any unnecessary paint application.
- Applying primer to the automobile body is a key step to ensure proper adhesion and a long-lasting paint job.
Cleaning and Removing Old Paint and Rust
Cleaning the Vehicle
Begin by washing the car with soap and water to remove dirt and grime. A thorough cleaning will help you identify any areas that require more attention. After washing, dry the surface completely to prevent moisture from interfering with the next steps.
Removing Old Paint and Rust
For areas with old paint, you may need to use a paint stripper or sandpaper to remove it effectively. If rust is present, it is crucial to address it promptly to prevent further deterioration. Use a wire brush or sandpaper to scrub away any rust spots, ensuring that you reach down to bare metal where necessary.
Protecting the Surface
After removing rust, apply a rust-inhibiting primer to protect the exposed areas from future corrosion. This step is vital in maintaining the integrity of your vehicle and ensuring that your new paint job lasts for years to come.
Filling and Sanding Imperfections
With the old paint and rust removed, you can now focus on filling and sanding imperfections in the automobile body. This step is critical for achieving a smooth and flawless finish once the new paint is applied. Begin by identifying any dents or scratches that need filling.
Use an appropriate body filler to fill these imperfections, following the manufacturer’s instructions for application. Be sure to overfill slightly, as this will allow for sanding down to a smooth surface later on. After allowing the filler to cure completely, grab your sanding tools and start smoothing out the filled areas.
Use a block sander or an electric sander with fine-grit sandpaper for best results. Sand in a circular motion or back-and-forth along the grain of the metal to ensure an even surface. Take your time during this process; rushing can lead to uneven surfaces that will be visible once painted.
Once you have achieved a smooth finish, wipe down the area with a clean cloth to remove any dust or debris before moving on to the next step.
Masking Off Areas That Do Not Require Painting
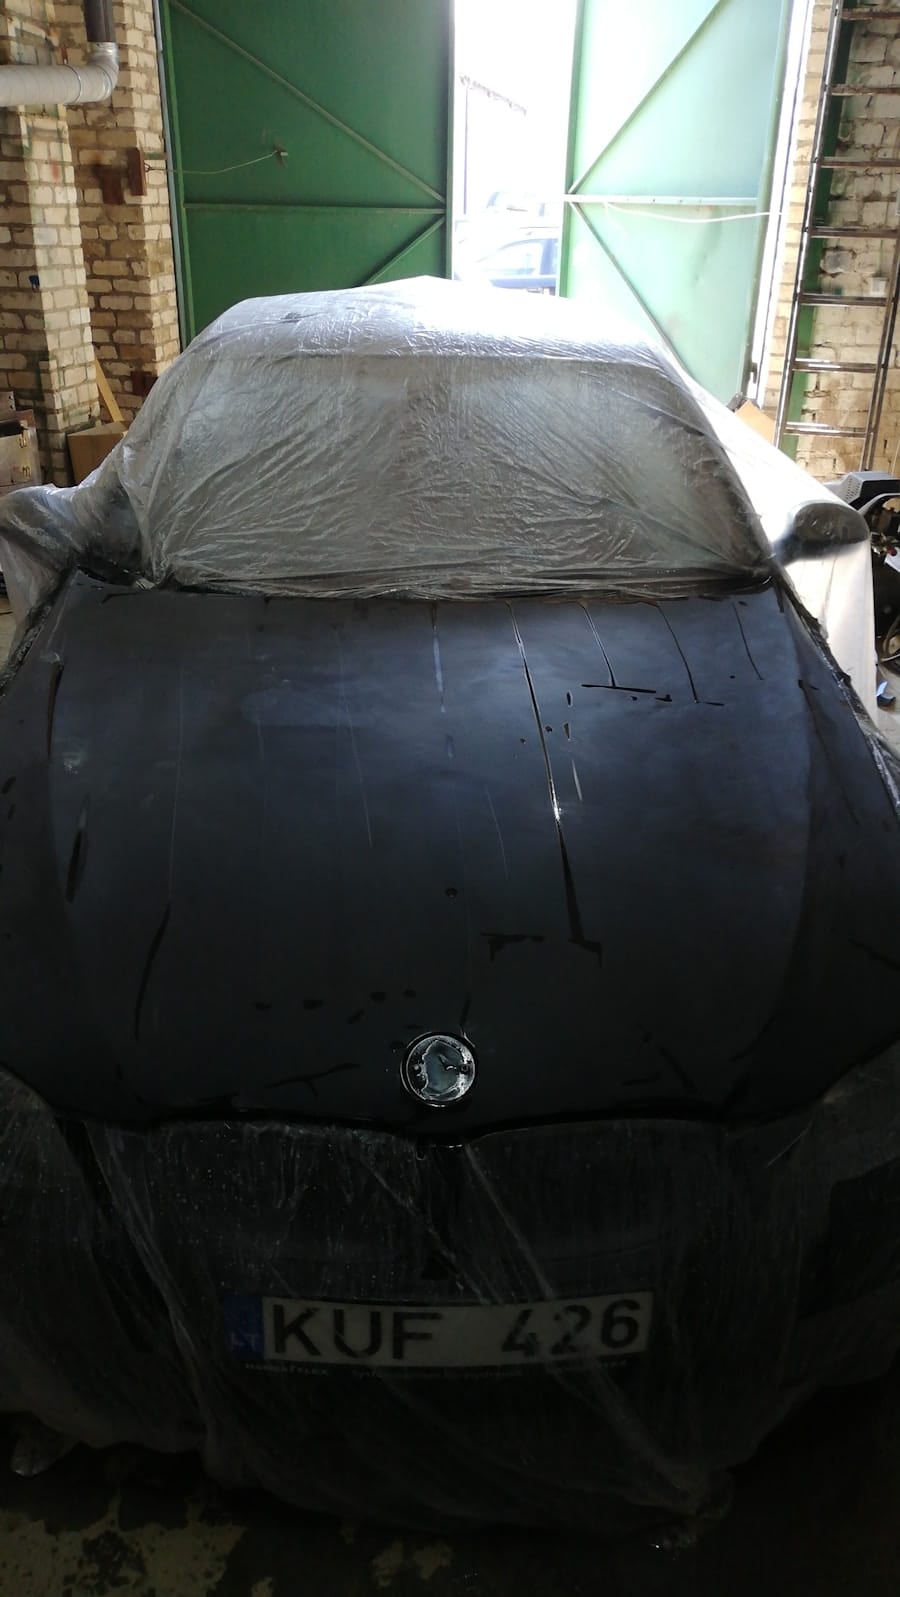
Before applying primer or paint, it is essential to mask off areas that do not require painting. This step will help you achieve clean lines and prevent overspray on parts of the vehicle that should remain untouched. Begin by gathering high-quality masking tape and plastic sheeting or newspaper.
Carefully tape off areas such as windows, headlights, taillights, and trim pieces that you want to protect from paint. When applying masking tape, ensure that it adheres well to the surface and creates a tight seal. This will help prevent paint from seeping underneath the tape during application.
For larger areas, use plastic sheeting or newspaper to cover them completely. Take your time with this process; proper masking can make a significant difference in the final appearance of your paint job. Once everything is masked off securely, double-check your work to ensure no exposed areas are left unprotected.
Applying Primer to the Automobile Body
With all areas masked off and imperfections addressed, it’s time to apply primer to the automobile body. Primer serves as a crucial base layer that enhances paint adhesion and provides additional protection against rust and corrosion. Choose a primer suitable for your specific type of paint and follow the manufacturer’s instructions for application.
Using a spray gun or aerosol can, apply an even coat of primer over the entire surface of the vehicle. When applying primer, maintain a consistent distance from the surface to avoid drips or uneven coverage. It’s best to apply multiple thin coats rather than one thick coat; this approach allows for better adhesion and reduces the risk of runs in the primer.
Allow each coat to dry according to the manufacturer’s recommendations before applying additional layers. Once you have achieved full coverage with primer, inspect the surface for any imperfections that may need further sanding before moving on to painting.
Sanding and Smoothing the Primed Surface
Preparing the Surface for Painting
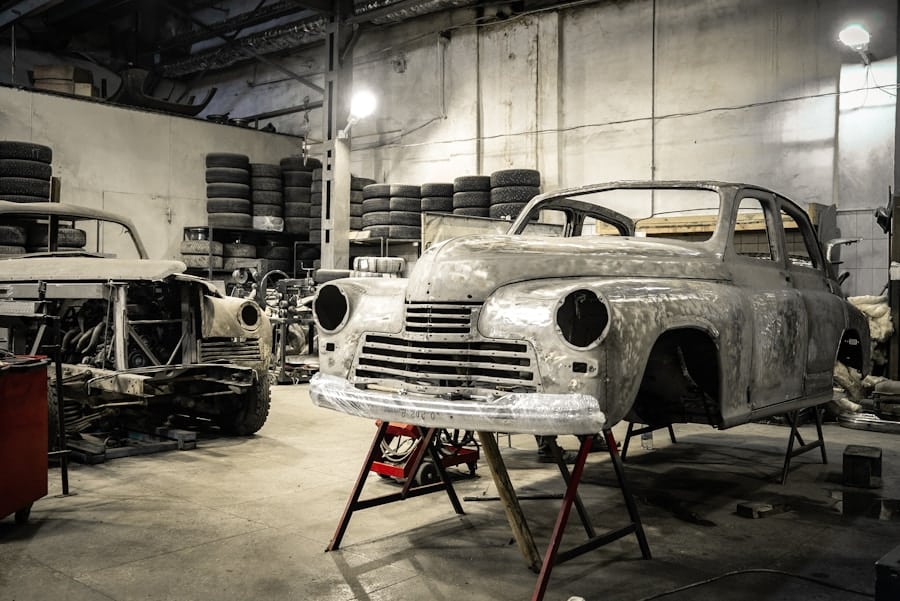
After the primer has fully dried, it’s essential to sand and smooth the primed surface to ensure a flawless finish. This step is crucial for achieving a high-quality paint job.
### Sanding the Primed Surface
Begin by using fine-grit sandpaper (around 400-grit) to gently sand the primed areas. Focus on creating an even surface by sanding in a circular motion or following the contours of the vehicle. As you sand, inspect the surface for any rough spots or imperfections that may have been missed during previous steps.
### Addressing Imperfections
If you find any areas that require additional attention, consider applying more primer and repeating the sanding process until you achieve a smooth finish throughout. This may take some patience, but it’s worth the effort to ensure a flawless finish.
### Final Preparation
Once satisfied with the surface texture, wipe down the entire area with a clean cloth or tack cloth to remove any dust particles created during sanding. This will ensure a clean surface for painting, resulting in a professional-looking finish.
Cleaning and Preparing the Painting Area
Before diving into painting your automobile body, it’s crucial to clean and prepare your painting area thoroughly. A clean environment will help prevent dust and debris from settling on your freshly painted surface, which can ruin an otherwise perfect finish. Start by choosing a well-ventilated space with minimal airflow disruptions; this will help ensure an even application of paint.
Next, clear away any unnecessary items from your workspace that could create clutter or introduce contaminants into your painting area. Sweep or vacuum the floor to eliminate dust and debris, and consider using drop cloths or tarps to protect surfaces from overspray. If possible, set up an area with good lighting so you can see what you’re doing clearly while painting.
Taking these steps will create an optimal environment for applying paint and contribute significantly to achieving professional-looking results.
Applying the Paint to the Automobile Body
Now comes one of the most exciting parts of your project: applying paint to your automobile body! With everything prepared and ready, choose high-quality automotive paint that suits your desired finish—whether it’s glossy, matte, or metallic—and follow the manufacturer’s instructions for mixing if necessary. Using a spray gun or aerosol can, begin applying paint in even strokes across the surface of your vehicle.
Start at one end of the car and work your way systematically across each panel, maintaining a consistent distance from the surface as you spray. Apply multiple thin coats rather than one thick coat; this technique helps prevent runs and ensures even coverage throughout. Allow each coat to dry according to manufacturer guidelines before applying subsequent layers.
Once you’ve achieved your desired color depth and coverage, allow ample time for curing before removing masking tape and reassembling any parts you may have taken off during preparation. In conclusion, painting an automobile body is a meticulous process that requires careful assessment, preparation, and execution at every stage. By following these steps diligently—from assessing conditions and cleaning surfaces to applying paint—you can achieve a stunning finish that revitalizes your vehicle’s appearance while protecting it from future wear and tear.
With patience and attention to detail, you’ll not only enhance your car’s aesthetic appeal but also gain satisfaction from completing such an intricate project on your own.
If you are looking to prepare your automobile body for painting, it is important to first choose the right auto body shop for your needs. This article on how to choose the right auto body shop provides valuable tips and insights on finding a reputable and reliable shop that can help you achieve the best results. Additionally, understanding the collision repair process from start to finish, as outlined in this collision repair 101 article, can also be beneficial in ensuring that your automobile body is properly prepared for painting. For those in the Sacramento, California area, this article on the best auto body repair shops can help you find a top-notch facility to assist you with your painting needs.
FAQs
What are the steps for preparing an automobile body for painting?
The steps for preparing an automobile body for painting include cleaning the surface, sanding the body, applying primer, and finally, applying the paint.
Why is cleaning the surface important before painting?
Cleaning the surface is important before painting to remove any dirt, grease, or other contaminants that could affect the adhesion of the paint.
What is the purpose of sanding the body before painting?
Sanding the body before painting helps to smooth out any imperfections, remove old paint or rust, and create a surface for the paint to adhere to.
Why is it necessary to apply primer before painting?
Applying primer before painting helps to create a smooth and even surface for the paint to adhere to, as well as providing additional protection for the body.
What are the different types of paint application methods for automobile bodies?
The different types of paint application methods for automobile bodies include spray painting, using a paint gun, and using a paint brush or roller for touch-ups.