When you first encounter a damaged vehicle, the initial step is to conduct a thorough assessment of the damage. This process is crucial, as it sets the stage for all subsequent repairs. You need to take a close look at every aspect of the vehicle, from the exterior body panels to the internal components.
Begin by documenting the visible damage, noting any dents, scratches, or structural issues. It’s essential to be meticulous during this phase; even minor imperfections can lead to larger problems down the line if not addressed properly. In addition to visual inspections, you should also consider using diagnostic tools to evaluate the vehicle’s systems.
This might include checking for error codes in the engine control unit or assessing the functionality of electronic components. By gathering comprehensive data on the vehicle’s condition, you can create a detailed report that will guide your repair process. This assessment not only helps you understand the extent of the damage but also allows you to communicate effectively with any insurance representatives or clients involved in the repair.
- Assessing the damage is crucial to understanding the extent of repairs needed for the vehicle.
- Disassembling the vehicle is a meticulous process that requires attention to detail and organization.
- Repairing the body involves using specialized tools and techniques to restore the vehicle’s structure.
- Replacing or repairing parts is essential for ensuring the vehicle’s safety and functionality.
- Preparing the surface is a critical step in the painting process to ensure a smooth and durable finish.
Disassembling the Vehicle
Once you have a clear understanding of the damage, it’s time to disassemble the vehicle. This step is critical for accessing the areas that require repair or replacement. You should start by removing any damaged body panels, such as fenders, bumpers, and doors.
As you take apart the vehicle, be sure to keep track of all screws, bolts, and clips; organizing these components will save you time during reassembly. Using labeled containers can help you avoid confusion later on. While disassembling, pay attention to any hidden damage that may not have been visible during your initial assessment.
Sometimes, underlying issues can be revealed only after certain parts are removed. For instance, you might discover bent frames or damaged wiring that needs immediate attention. Document these findings thoroughly, as they will be essential for planning your repair strategy.
Disassembling a vehicle is not just about taking it apart; it’s about gaining a comprehensive understanding of its condition and preparing for the next steps in the repair process.
Repairing the Body
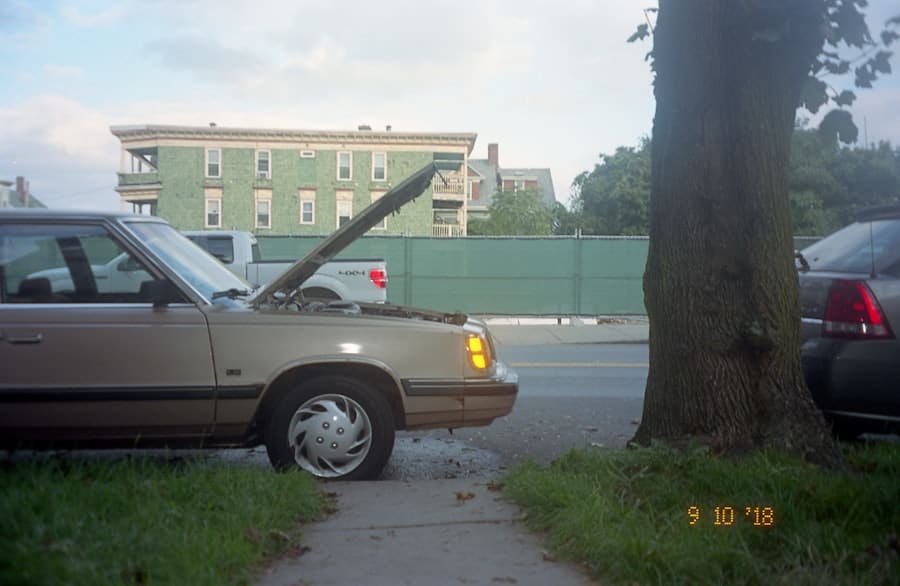
With the vehicle disassembled and all damaged parts identified, you can now focus on repairing the body. This phase often involves a combination of techniques, including straightening bent panels and filling in dents with body filler. If you encounter significant damage to structural components, you may need specialized tools like frame machines to restore them to their original shape.
It’s important to approach this task with precision; even slight misalignments can affect the vehicle’s performance and aesthetics. In addition to physical repairs, you should also consider rust treatment if any corrosion is present. Rust can compromise the integrity of metal components and lead to further deterioration if left untreated.
Applying a rust-inhibiting primer before proceeding with bodywork can help protect against future issues. As you work on repairing the body, keep in mind that your goal is not just to restore functionality but also to ensure that the vehicle looks as good as new when it’s finished.
Replacing or Repairing Parts
After addressing the bodywork, it’s time to evaluate which parts need replacing or repairing. Some components may be beyond repair and require new replacements, while others might just need minor fixes. For instance, if a headlight assembly is cracked but still functional, you might opt for a repair rather than a full replacement.
On the other hand, if a suspension component is severely damaged, replacing it would be the safer choice. When sourcing replacement parts, consider both OEM (Original Equipment Manufacturer) and aftermarket options. OEM parts are designed specifically for your vehicle model and often come with warranties, while aftermarket parts can offer cost savings but may vary in quality.
Weighing these options carefully will help you make informed decisions that align with your budget and quality expectations. As you replace or repair parts, ensure that everything fits correctly and functions as intended before moving on to the next stage of your project.
Preparing the Surface
With all necessary repairs and replacements completed, it’s time to prepare the surface for painting. This step is vital for achieving a smooth and professional finish. Start by sanding down any rough areas and ensuring that all surfaces are clean and free from dust or debris.
You may need to use different grits of sandpaper to achieve a uniform texture across various surfaces. Pay special attention to areas where body filler was applied; these spots often require extra smoothing to blend seamlessly with surrounding panels. In addition to sanding, applying a primer is an essential part of surface preparation.
Primer helps create a strong bond between the paint and the vehicle’s surface while also providing an additional layer of protection against rust and corrosion. Choose a primer that is compatible with your chosen paint type and apply it evenly across all repaired areas. Once the primer has dried, inspect it for imperfections and sand again if necessary.
Proper surface preparation is key to ensuring that your paint job not only looks great but also lasts for years to come.
Painting
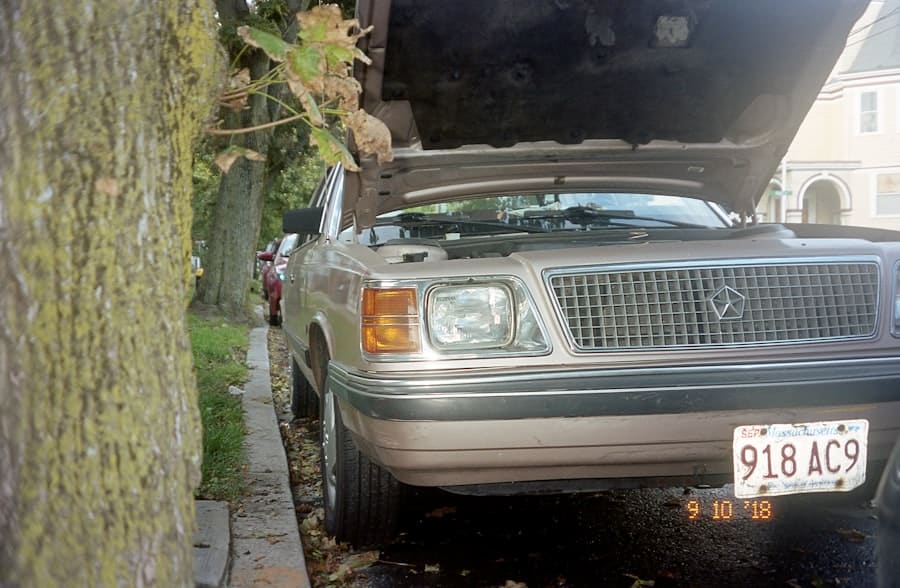
Now comes one of the most exciting phases: painting the vehicle. This step requires careful attention to detail and a steady hand. Begin by selecting high-quality automotive paint that matches your vehicle’s original color or your desired finish.
If you’re unsure about color matching, consider consulting with a professional or using color-matching tools available at auto supply stores. Before applying paint, ensure that your workspace is clean and well-ventilated. Dust particles can ruin an otherwise perfect paint job, so take precautions to minimize contamination.
Using a spray gun or aerosol cans, apply thin layers of paint rather than one thick coat; this technique helps prevent runs and drips while allowing for better adhesion. After each coat dries, inspect for any imperfections and sand lightly if needed before applying additional layers. Patience is key during this process; allowing adequate drying time between coats will yield a more professional-looking finish.
Reassembling the Vehicle
With the painting complete and fully dried, it’s time to reassemble the vehicle. This phase involves carefully putting back all components that were removed during disassembly. Start with larger parts like doors and fenders before moving on to smaller components such as trim pieces and interior elements.
As you reassemble, refer back to your organized containers of screws and bolts to ensure everything goes back in its rightful place. During reassembly, double-check that all connections are secure and functioning properly. This includes electrical connections for lights and sensors as well as mechanical components like hinges and latches.
It’s also an excellent opportunity to clean any areas that may have accumulated dust or grime during the repair process. A thorough reassembly not only ensures that your vehicle operates correctly but also contributes to its overall appearance when completed.
Quality Control and Final Inspection
The final step in your vehicle repair journey is conducting quality control and a thorough inspection before handing it back over to its owner or client. This phase is crucial for ensuring that every aspect of your work meets high standards of quality and safety. Begin by reviewing your checklist from the initial assessment; confirm that all identified issues have been addressed satisfactorily.
Next, take the time to conduct a test drive if applicable, checking for any unusual noises or handling issues that may have arisen during repairs. Inspect both exterior and interior elements closely for any imperfections in paint or fitment that may need correction before final delivery. Quality control is not just about ensuring functionality; it’s about delivering a finished product that reflects your craftsmanship and attention to detail.
By taking these final steps seriously, you can ensure that your hard work pays off in customer satisfaction and pride in your craftsmanship.
If you are interested in learning more about auto body repair materials, check out this informative article on body repair materials: a guide to fiberglass, carbon fiber, and more. This article provides valuable information on the different materials used in auto body repair and their benefits. Understanding the materials used in the repair process can help you make informed decisions when choosing an auto body repair shop.
FAQs
What is automobile body repair?
Automobile body repair refers to the process of repairing and restoring the exterior of a vehicle that has been damaged due to accidents, collisions, or other incidents.
What is the typical process for completing an automobile body repair?
The typical process for completing an automobile body repair involves assessing the damage, preparing the surface, repairing the damage, priming the surface, painting the vehicle, and finally, finishing and detailing the repaired area.
How is the damage assessed in automobile body repair?
The damage is assessed by visually inspecting the vehicle, using specialized tools to measure and analyze the extent of the damage, and creating a detailed estimate of the repair costs.
What is involved in preparing the surface for automobile body repair?
Preparing the surface involves removing any damaged or rusted parts, sanding down the damaged area, and cleaning the surface to ensure proper adhesion of the repair materials.
How is the damage repaired in automobile body repair?
The damage is repaired by using techniques such as dent removal, panel replacement, welding, and other methods to restore the vehicle’s exterior to its original condition.
What is the purpose of priming the surface in automobile body repair?
Priming the surface helps to seal and protect the repaired area, provides a smooth base for the paint, and promotes adhesion of the paint to the surface.
What is involved in painting the vehicle during automobile body repair?
Painting the vehicle involves applying a base coat, a color coat, and a clear coat to match the original finish of the vehicle and ensure a seamless repair.
What is the final step in completing an automobile body repair?
The final step involves finishing and detailing the repaired area, which may include buffing, polishing, and applying protective coatings to ensure a high-quality finish.