When you own an RV, it’s essential to recognize the various types of body damage that can occur. From minor scratches to significant dents, each type of damage requires a different approach for repair. You might encounter surface scratches, which are often caused by branches or other debris while driving.
These scratches can be unsightly but are usually easy to fix with some polishing or touch-up paint. On the other hand, you may also face deeper gouges that penetrate the outer layer of the RV’s body, exposing the underlying materials to moisture and potential rust. Another common type of damage is delamination, particularly in fiberglass RVs.
This occurs when the layers of fiberglass begin to separate due to moisture intrusion or poor adhesion. Delamination can lead to serious structural issues if not addressed promptly. Additionally, you might find yourself dealing with dents and dings from accidents or hailstorms.
Understanding these different types of damage is crucial for determining the best repair methods and materials, ensuring your RV remains in top condition for your adventures.
- RV body damage can come in various forms such as fiberglass, aluminum, and steel damage.
- Assessing the extent of the damage is crucial in determining the right materials and techniques for repair.
- Choosing the right materials for RV body repair is essential for a successful and long-lasting repair.
- Techniques for repairing fiberglass RV bodies may include using fiberglass cloth and resin for patching and smoothing.
- Techniques for repairing aluminum RV bodies may involve using aluminum welding and patching techniques for a seamless finish.
- Techniques for repairing steel RV bodies may include welding and metal patching for a durable repair.
- Blending and matching paint is important for a seamless finish after RV body repair.
- Preventative maintenance such as regular inspections and protective coatings can help avoid future RV body damage.
Assessing the Extent of the Damage
Once you’ve identified the type of damage your RV has sustained, the next step is to assess its extent. This process involves a thorough inspection of the affected areas, which may require you to get up close and personal with your RV’s exterior. You should look for signs of water intrusion, such as discoloration or soft spots, especially around windows and seams.
If you notice any bubbling or peeling paint, it could indicate underlying issues that need immediate attention. In addition to visual inspection, you may want to use tools like a moisture meter to gauge the level of moisture in the affected areas. This can help you determine whether the damage is superficial or if it has penetrated deeper into the structure of your RV.
By accurately assessing the extent of the damage, you can make informed decisions about whether to tackle the repairs yourself or seek professional help. Remember, addressing issues early on can save you time and money in the long run.
Choosing the Right Materials for RV Body Repair
Selecting the appropriate materials for your RV body repair is a critical step in ensuring a successful outcome. Depending on the type of damage and the material of your RV’s body—be it fiberglass, aluminum, or steel—you’ll need to choose materials that are compatible and durable. For fiberglass repairs, you might consider using fiberglass resin and cloth, which provide strength and flexibility.
It’s essential to select high-quality products that can withstand the rigors of travel and exposure to the elements. If your RV has an aluminum body, you’ll want to use aluminum-specific repair materials, such as welding rods or rivets designed for aluminum applications. These materials will ensure a strong bond and prevent corrosion over time.
For steel bodies, rust-resistant paints and sealants are crucial to protect against future damage. Regardless of the material, always prioritize quality over cost; investing in superior materials will pay off in durability and longevity.
Techniques for Repairing Fiberglass RV Bodies
Repairing fiberglass RV bodies requires a specific set of techniques to ensure a seamless finish. If you’re dealing with surface scratches or minor gouges, you can start by sanding down the damaged area with fine-grit sandpaper to create a smooth surface. After sanding, clean the area thoroughly to remove any dust or debris before applying fiberglass resin mixed with hardener.
Once applied, you’ll need to lay down fiberglass cloth over the resin and then add another layer of resin on top. Allow it to cure completely before sanding it down again for a smooth finish. For more extensive damage like delamination, you may need to take a more involved approach.
This could involve removing the affected section of fiberglass and replacing it with new material. You’ll want to ensure that any moisture is completely dried out before proceeding with repairs. After replacing the damaged section, follow up with sanding and painting to match the rest of your RV’s exterior.
Mastering these techniques will not only restore your RV’s appearance but also enhance its structural integrity.
Techniques for Repairing Aluminum RV Bodies
Aluminum RV bodies present their own unique challenges when it comes to repairs. If you find yourself facing minor dents or scratches, you can often use a rubber mallet to gently tap out dents from behind if accessible. For surface scratches, aluminum polish can work wonders in restoring shine and minimizing visibility.
However, if the damage is more severe, such as deep gouges or cracks, welding may be necessary. It’s crucial to use aluminum welding rods that match your RV’s specific alloy for optimal results. In cases where corrosion has set in, you’ll need to take additional steps to treat the affected area before making repairs.
This may involve sanding down the corroded section until you reach clean metal and then applying a rust-inhibiting primer before repainting. Always ensure that any repairs are sealed properly to prevent moisture from causing further damage down the line. By mastering these techniques, you can keep your aluminum RV looking great while extending its lifespan.
Techniques for Repairing Steel RV Bodies
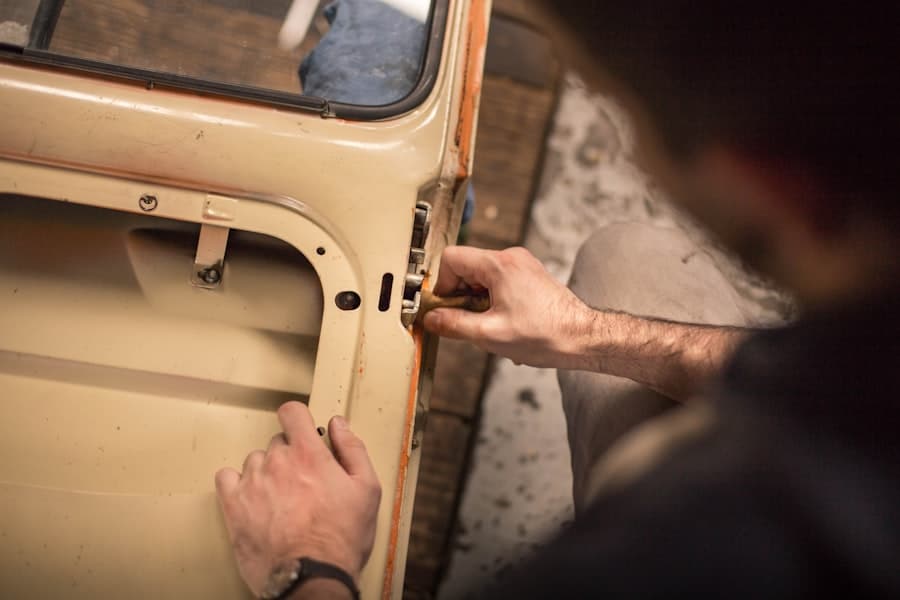
Steel RV bodies are known for their durability but can be susceptible to rust and corrosion if not properly maintained. When repairing steel bodies, your first step should be identifying any rust spots that need attention. Use a wire brush or grinder to remove rust from affected areas until you reach clean metal.
Afterward, apply a rust-inhibiting primer to protect against future corrosion before proceeding with any bodywork. For dents and dings in steel bodies, techniques such as pulling or pushing out dents using specialized tools can be effective. If the damage is extensive, you may need to cut out the damaged section and weld in a new piece of steel.
Ensure that all welds are ground smooth and treated with primer before painting over them for a seamless finish. By employing these techniques effectively, you can maintain the integrity and appearance of your steel RV body.
Blending and Matching Paint for a Seamless Finish
Achieving a seamless finish after repairs is often one of the most challenging aspects of RV bodywork. To blend and match paint effectively, start by selecting high-quality automotive paint that matches your RV’s original color code. You can usually find this information in your owner’s manual or on a sticker located inside one of the cabinets.
Once you have your paint, prepare the area by sanding it down and cleaning it thoroughly. When applying paint, use light coats and gradually build up layers rather than applying one thick coat. This technique helps prevent runs and allows for better blending with existing paint.
After painting, consider using a clear coat for added protection and shine. Polishing the entire area after it dries will help create a uniform appearance that makes your repairs nearly invisible.
Preventative Maintenance to Avoid Future RV Body Damage
Preventative maintenance is key to avoiding future body damage on your RV. Regularly washing your RV helps remove dirt and debris that can cause scratches over time. Additionally, applying a protective wax or sealant can create a barrier against UV rays and environmental contaminants that may lead to fading or deterioration.
You should also inspect your RV regularly for signs of wear and tear, particularly around seams, windows, and areas prone to moisture accumulation. Addressing small issues before they escalate into larger problems can save you time and money in repairs down the line. By incorporating these preventative measures into your routine maintenance schedule, you can keep your RV looking great and performing well for years to come.
In conclusion, understanding the various types of RV body damage and how to address them is essential for any RV owner. By assessing damage accurately, choosing appropriate materials, employing effective repair techniques, blending paint seamlessly, and practicing preventative maintenance, you can ensure that your RV remains in excellent condition throughout its lifespan. Whether you’re embarking on a weekend getaway or a cross-country adventure, taking care of your RV will enhance your travel experience and protect your investment.
If you are interested in learning more about body repair materials, such as fiberglass and carbon fiber, check out this informative article on body repair materials. Additionally, if you are in the Bakersfield, California area and are in need of auto body repair services, be sure to read this article on the best auto body repair shops in Bakersfield. And for those looking to stay up-to-date on the latest advancements in automotive refinishing, this article on waterborne paints is a must-read.
FAQs
What are common types of RV body damage?
Common types of RV body damage include dents, scratches, delamination, and water damage. These can occur from accidents, weather, or general wear and tear.
What are some techniques used for repairing RV body damage?
Some common techniques for repairing RV body damage include fiberglass repair, gel coat repair, aluminum siding repair, and paint touch-ups. These techniques may vary depending on the type and extent of the damage.
Can I repair RV body damage myself?
While some minor repairs can be done by DIY enthusiasts, it is recommended to seek professional help for major RV body repairs. Professional technicians have the expertise and tools to properly assess and repair the damage.
How long does RV body repair typically take?
The duration of RV body repair can vary depending on the extent of the damage and the repair techniques needed. Minor repairs may take a few days, while more extensive repairs could take several weeks.
What are the costs associated with RV body repair?
The cost of RV body repair can vary widely depending on the type and extent of the damage, as well as the repair techniques needed. It is best to obtain estimates from reputable RV repair shops before proceeding with the repairs.